

From Empty Land to Construction: Every Step of the Architectural Process
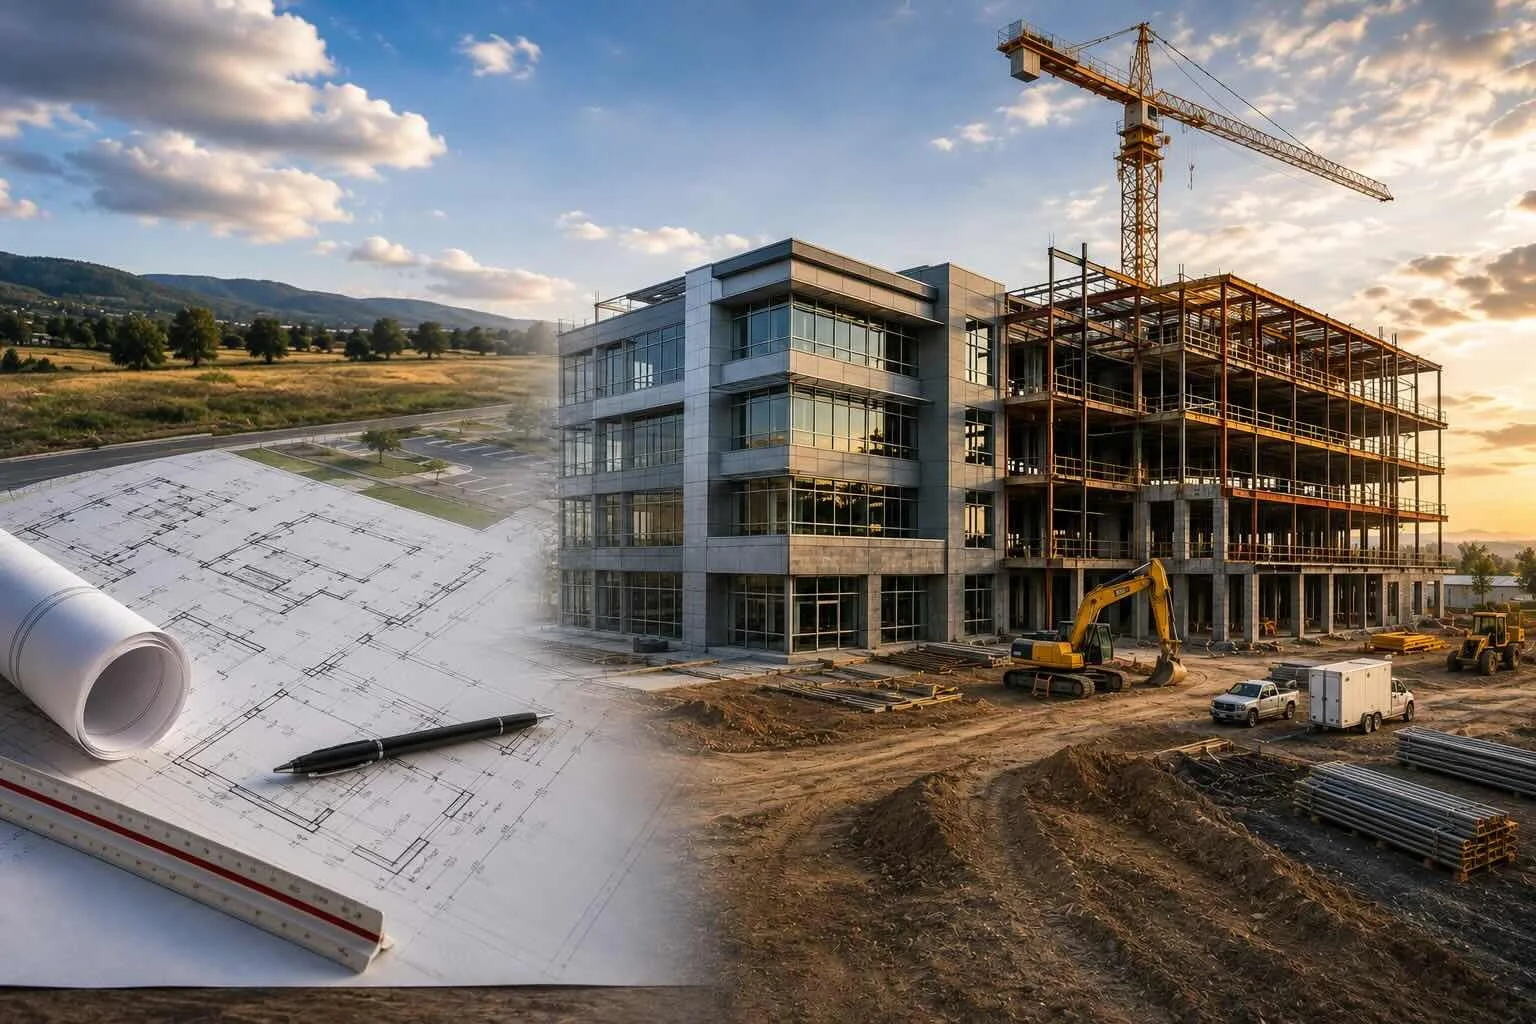
A piece of empty land can look deceptively simple.
There may be nothing on it but grass, gravel, trees, or an old access road. To a property owner, developer, business owner, or investor, it can feel like a blank canvas. But before construction begins, that land has to pass through a long series of decisions, studies, drawings, approvals, engineering reviews, permits, cost checks, and coordination.
That process is where architecture begins.
Whether you are planning a commercial building, apartment development, office, retail space, mixed-use project, government facility, or custom residential development, understanding the architectural process can help you make better decisions, avoid expensive surprises, and keep the project moving in the right direction.
Here is a practical look at how a project can move from vacant land to active construction.

1. Start With the Property
Before designing the building, the architect needs to understand the land.
Every site comes with opportunities and constraints. Even two neighboring parcels can have very different development potential depending on zoning, utilities, topography, access, easements, environmental conditions, and local regulations.
Early site research may include:
Parcel boundaries
Property size
Zoning classification
Allowed uses
Building setbacks
Maximum building height
Lot coverage
Parking requirements
Access points
Utility availability
Existing easements
Floodplain information
Wetlands or environmental concerns
Topography
Adjacent properties
Existing vegetation
Drainage patterns
This first step is often called site analysis or architectural feasibility analysis. It answers a simple but important question:
What can realistically be built here?
A site may appear large enough for a 40-unit apartment project, for example, but setbacks, parking, fire access, stormwater requirements, and utility easements may significantly reduce the actual buildable area. That is why good architectural planning begins with the land rather than the floor plan.
2. Confirm That the Proposed Use Is Allowed
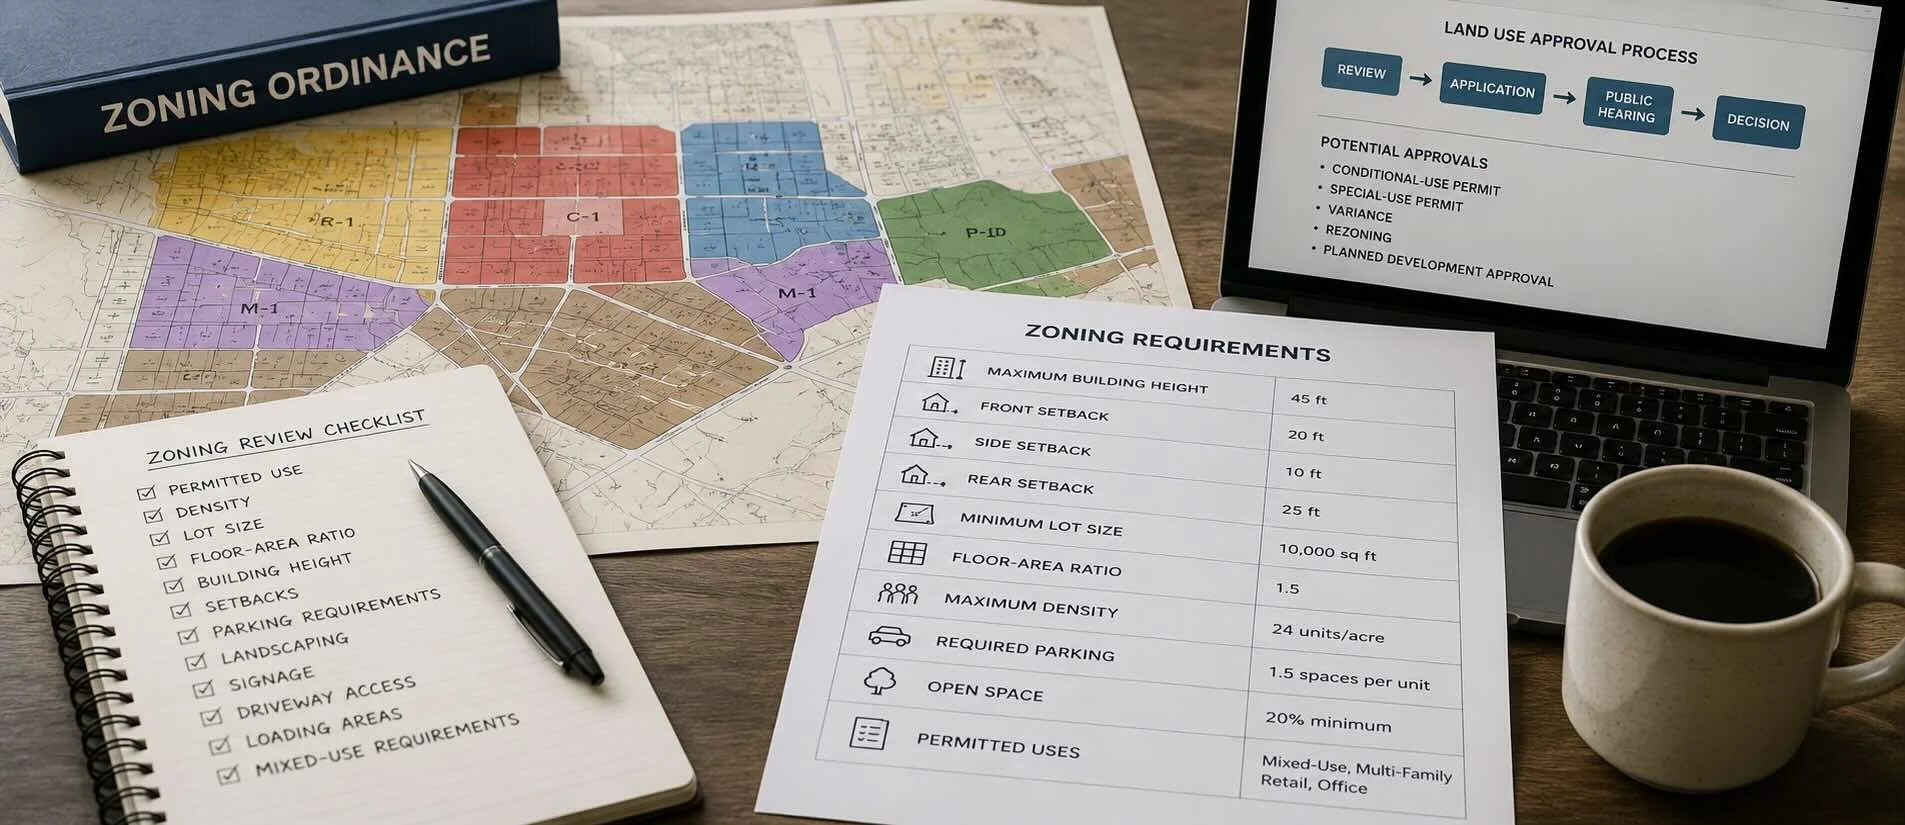
Once the site is understood, zoning becomes one of the first major checkpoints. Local zoning regulations determine whether the proposed use is permitted and may regulate everything from building size to parking and landscaping. For a commercial or multi-family project, zoning research may address:
Whether the proposed use is permitted
Maximum residential density
Minimum lot size
Floor-area ratio
Building height
Front, side, and rear setbacks
Required parking
Landscaping
Open space
Signage
Driveway access
Loading areas
Mixed-use requirements
If the proposed use is not permitted outright, the project may need a:
Conditional-use permit
Special-use permit
Variance
Rezoning
Planned development approval
These processes can affect both the project schedule and the risk involved in purchasing or developing the property. For that reason, zoning due diligence should happen early.
3. Establish the Project Goals
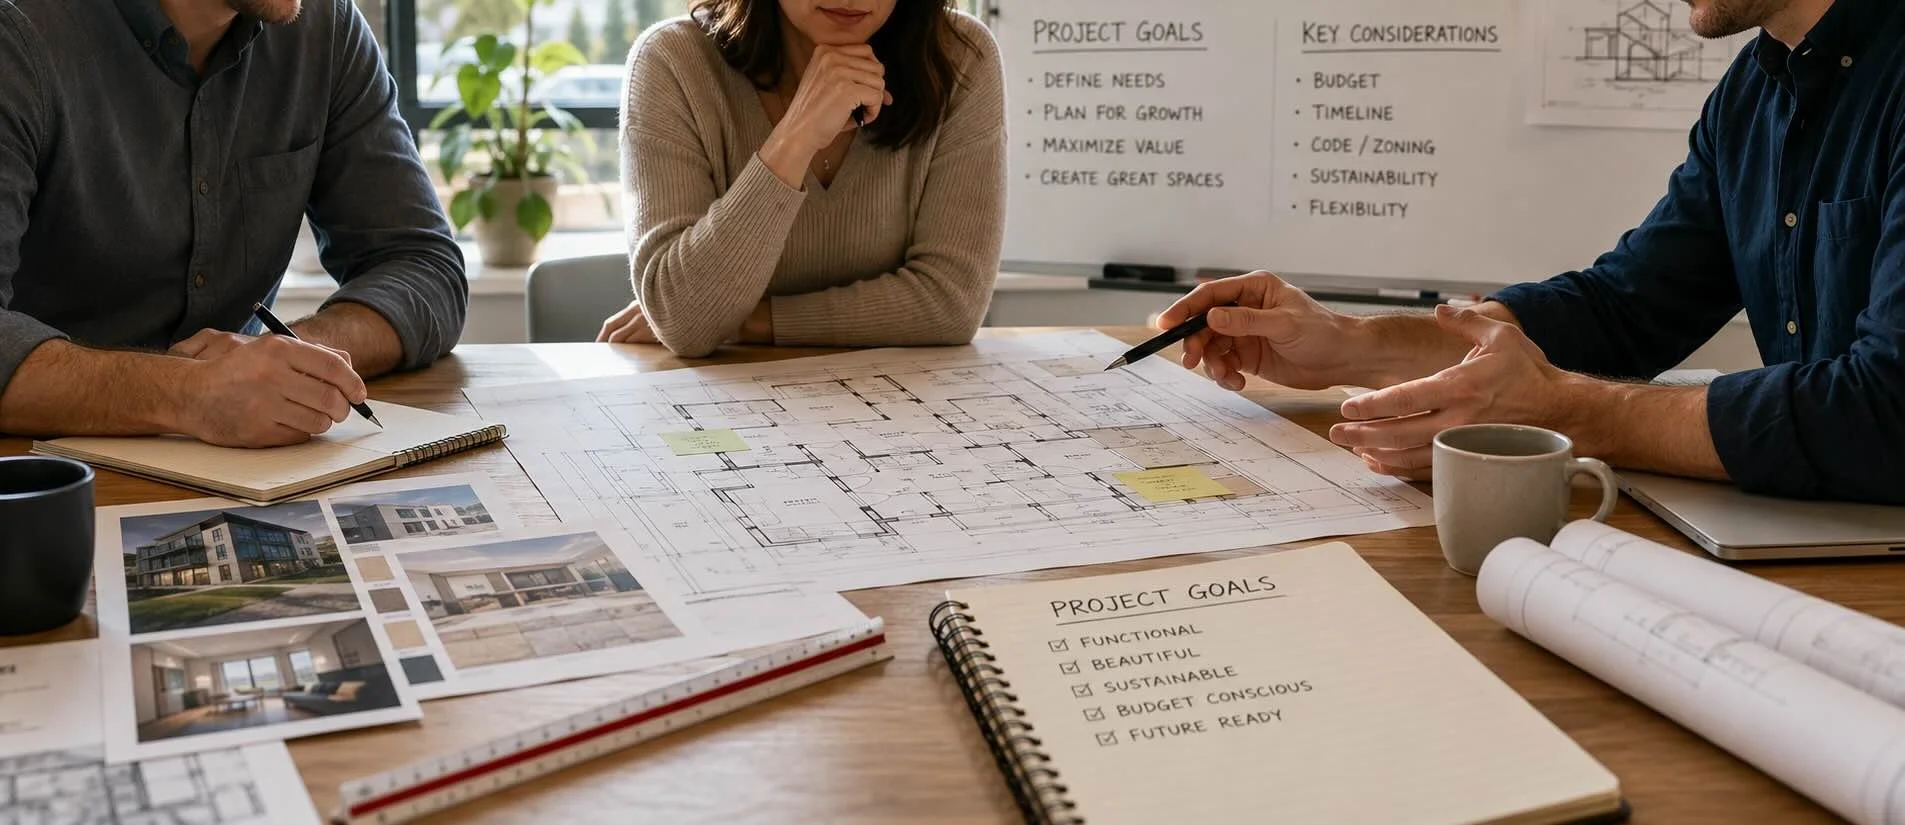
Before an architect begins developing a serious design, the project team needs to define what success looks like. This is sometimes called architectural programming. For a business owner, the questions might include:
How many employees will work here?
What departments need to be near one another?
How much storage is needed?
Will the business grow?
Does the building need customer-facing areas?
Are there special equipment or security requirements?
For an apartment project, the discussion might focus on:
Desired unit count
Studio, one-bedroom, and two-bedroom mix
Average apartment size
Parking goals
Common areas
Outdoor amenities
Leasing space
Storage
Laundry
Fitness rooms
Future expansion
For a custom home, the conversation may revolve around:
Number of bedrooms
Lifestyle
Views
Privacy
Outdoor spaces
Garage size
Accessibility
Future family needs
Budget
The better the project goals are defined at the beginning, the more efficiently the design process can move forward.
4. Develop a Preliminary Site Plan
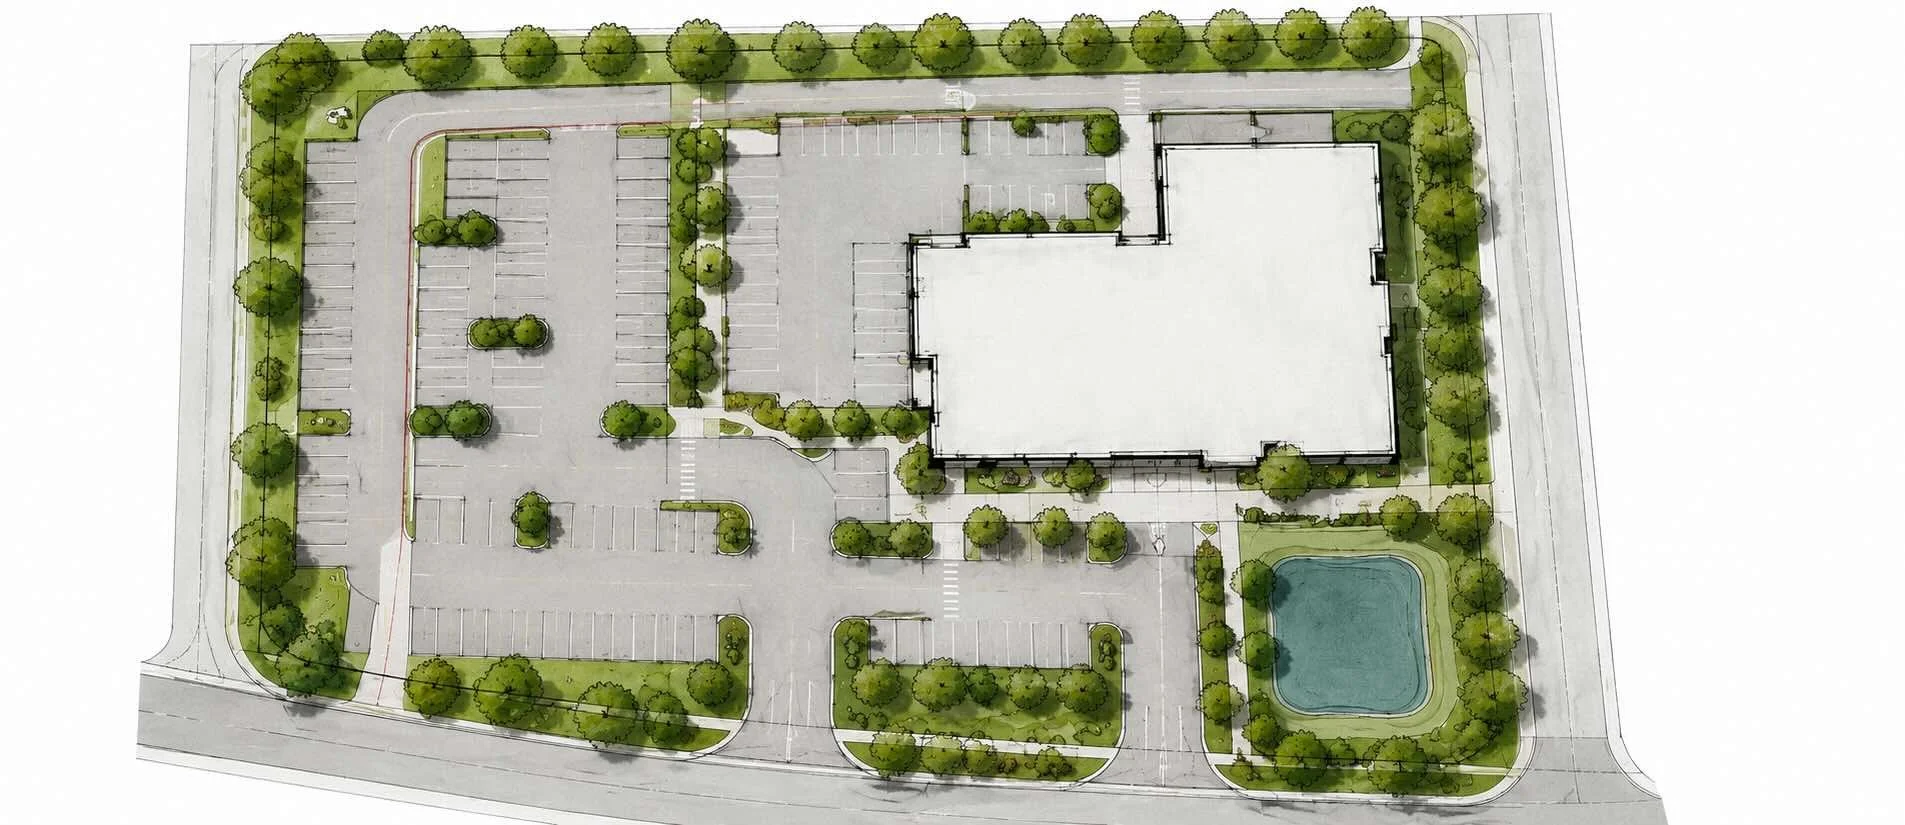
Once the project requirements and site constraints are understood, architects can begin testing how the development might fit on the property.
A preliminary site plan may show:
Building location
Parking
Driveways
Sidewalks
Fire access
Loading areas
Trash collection
Landscaping
Stormwater areas
Accessible routes
Utility connections
Outdoor amenities
At this stage, the design is usually still flexible. The purpose is not to make every detail perfect. It is to understand the basic relationship between the building and the property. Several site-plan concepts may be explored before one direction clearly works best. This is also when major conflicts often begin to appear. For example, the building might fit comfortably until the required fire lane is added. Or parking may work until a stormwater facility is introduced. Resolving those conflicts early is much easier than discovering them after months of detailed design.
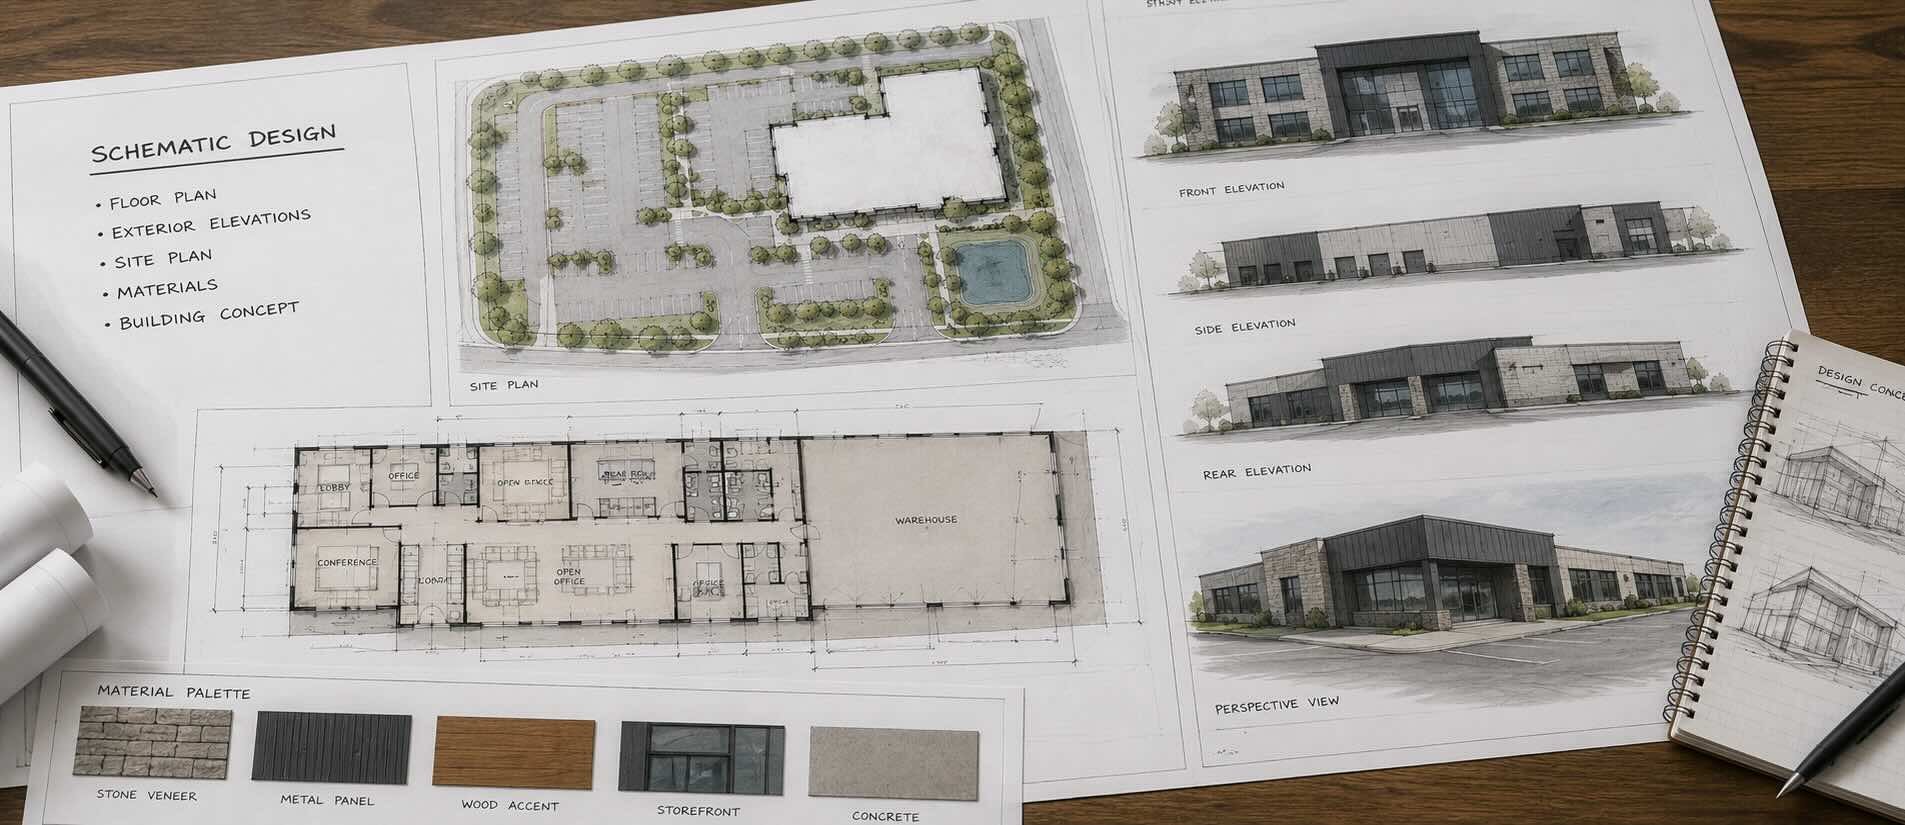
5. Create the Schematic Design
Once the project has a workable site strategy, the architect can begin developing the building itself. This phase is commonly called schematic design. During schematic design, the architect explores the major characteristics of the project, including:
Building footprint
Floor plans
Entrances
Circulation
Room relationships
Exterior form
Building height
Window locations
Major materials
Roof configuration
Parking relationships
Outdoor spaces
The drawings are still conceptual, but they begin to show what the finished project could become. For many clients, this is the point when the project starts to feel real. Instead of discussing square footage and setbacks in abstract terms, they can begin looking at actual layouts.
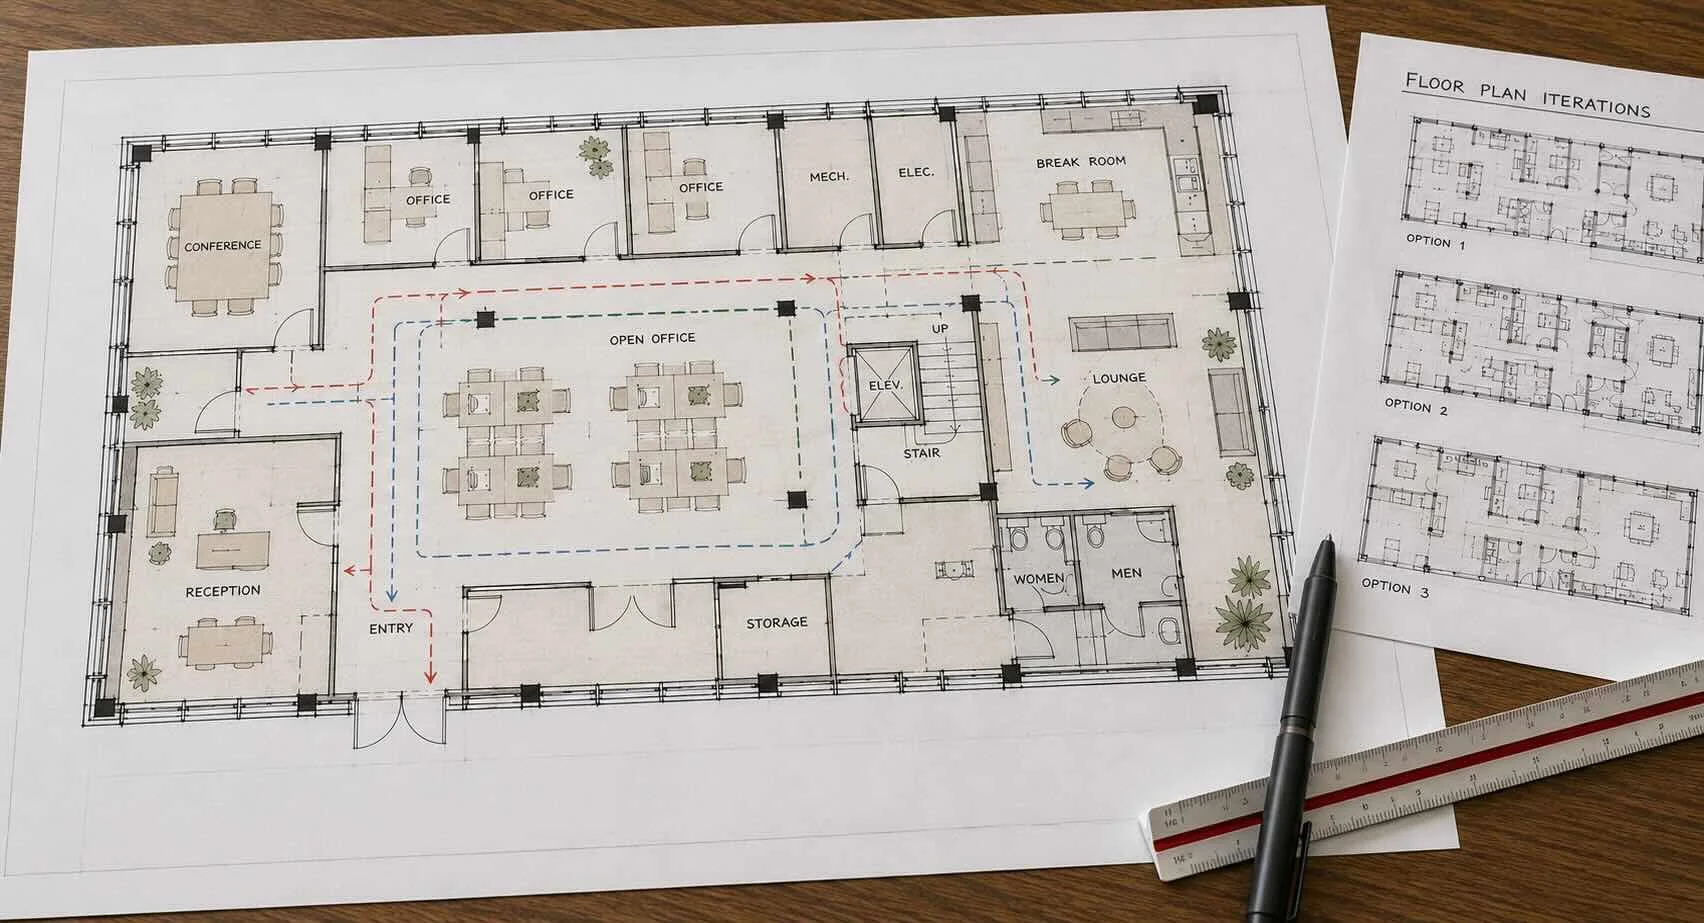
6. Test the Floor Plan
A strong floor plan has to do far more than simply fit rooms inside walls. Architects consider how people will actually use the building. Depending on the project, they may study:
Circulation
Travel distances
Privacy
Natural light
Views
Accessibility
Furniture layouts
Equipment
Storage
Restrooms
Mechanical spaces
Structural grids
Stairs
Elevators
Emergency exits
A floor plan may go through many revisions before the right balance is reached. This is normal. Good architectural design is often an iterative process. Each version helps expose conflicts and opportunities that were not obvious at the beginning.
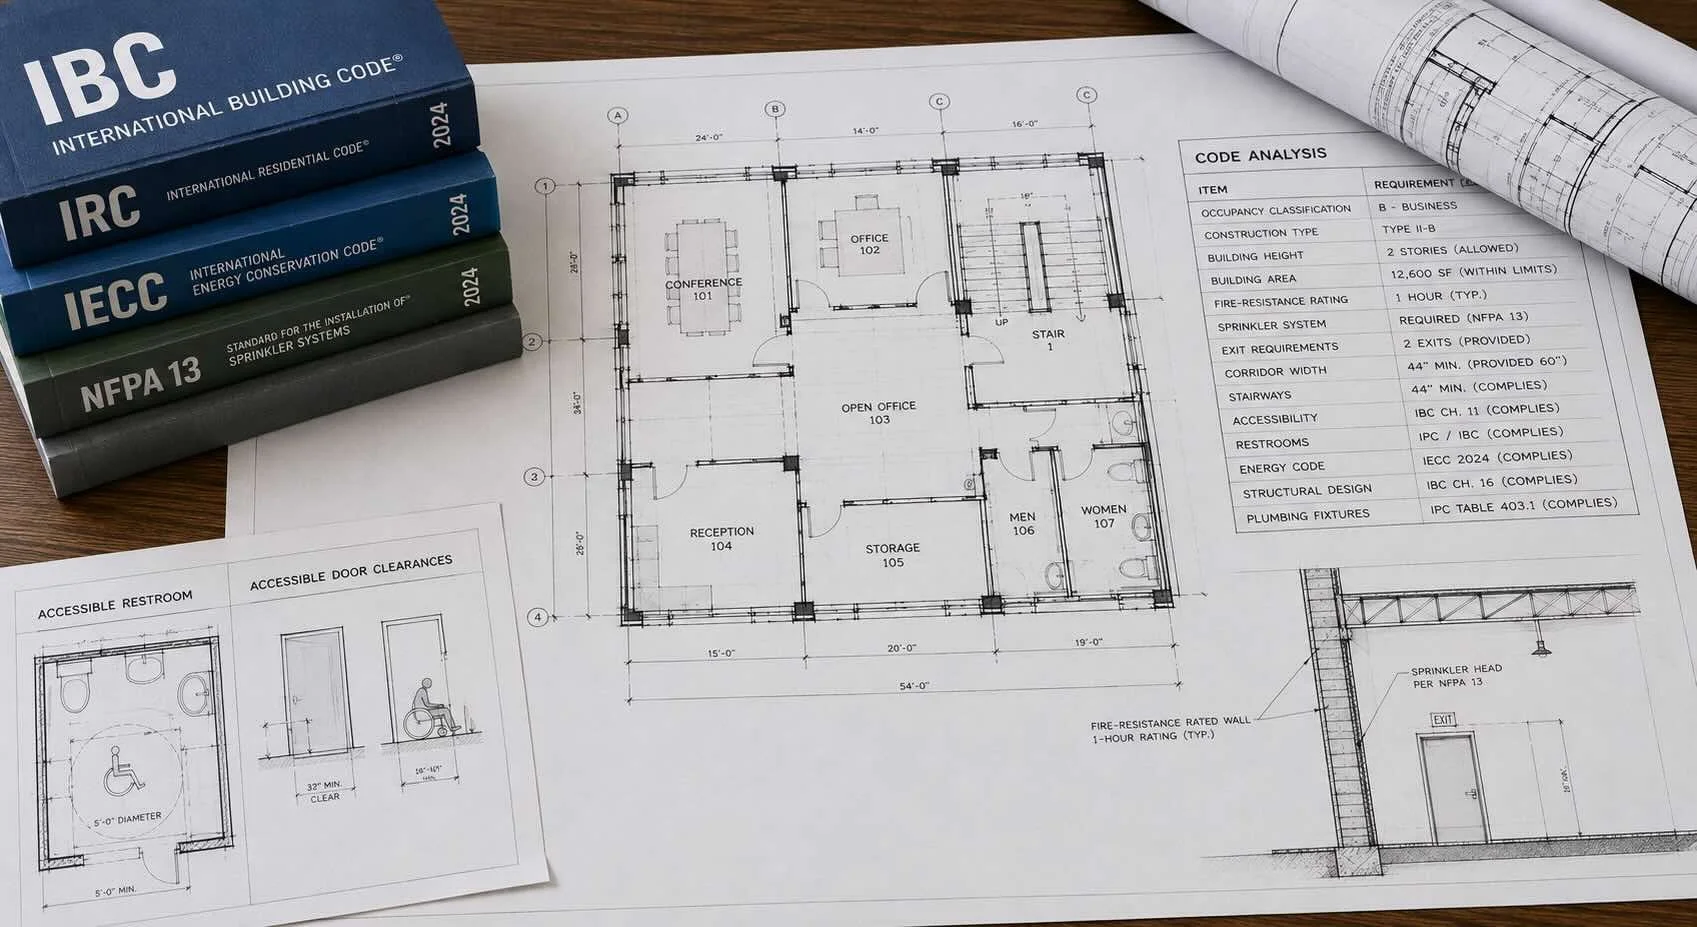
7. Evaluate Building Code Requirements
As the design develops, building codes become increasingly important. Architects research the codes adopted by the local jurisdiction and determine how they apply to the proposed project. That may include requirements involving:
Occupancy classification
Construction type
Building height
Building area
Fire-resistance ratings
Sprinkler systems
Exit requirements
Corridor widths
Stairways
Accessibility
Restrooms
Energy codes
Structural design
Plumbing fixtures
A design that looks great but does not comply with code is not a viable project. That is why code analysis is integrated into the architectural process rather than treated as something to check at the end.
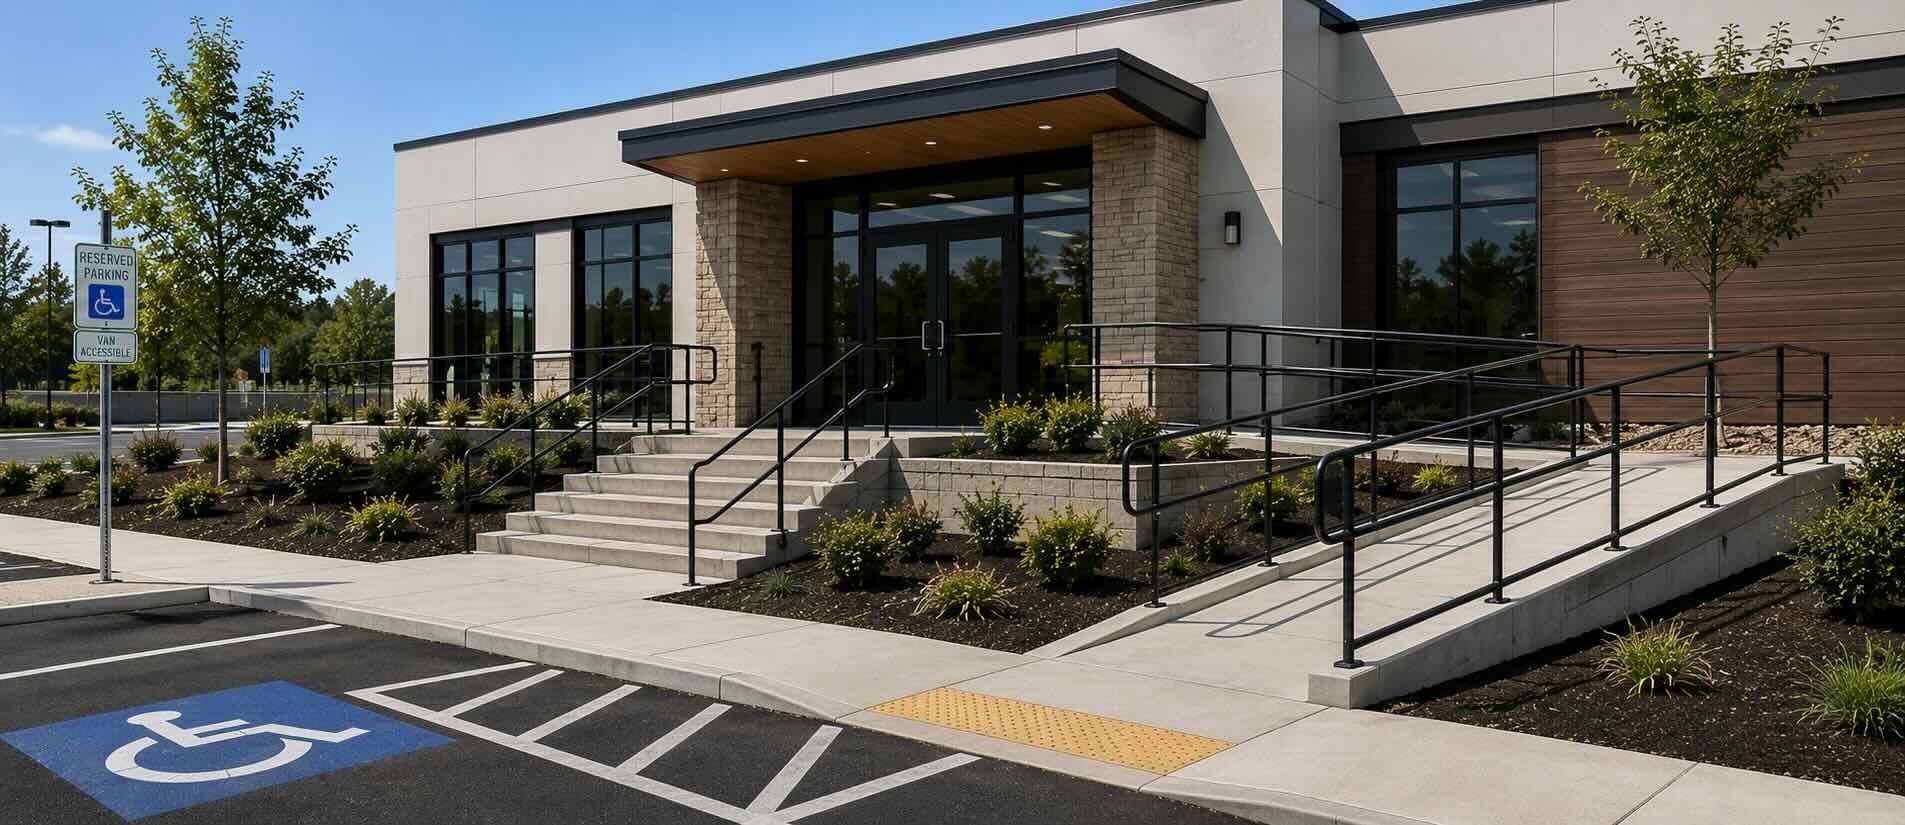
8. Coordinate Accessibility
Accessibility is another important part of architectural design. Depending on the project, architects may need to account for requirements affecting:
Accessible parking
Routes from parking to the building
Building entrances
Door clearances
Hallways
Ramps
Elevators
Restrooms
Kitchens
Apartment units
Common spaces
Site slopes can make accessibility especially challenging. A building entrance may be only a few feet above the parking lot, but creating a compliant accessible route can require substantial ramps, landings, grading, or retaining walls. Those requirements can influence the site plan from the very beginning.
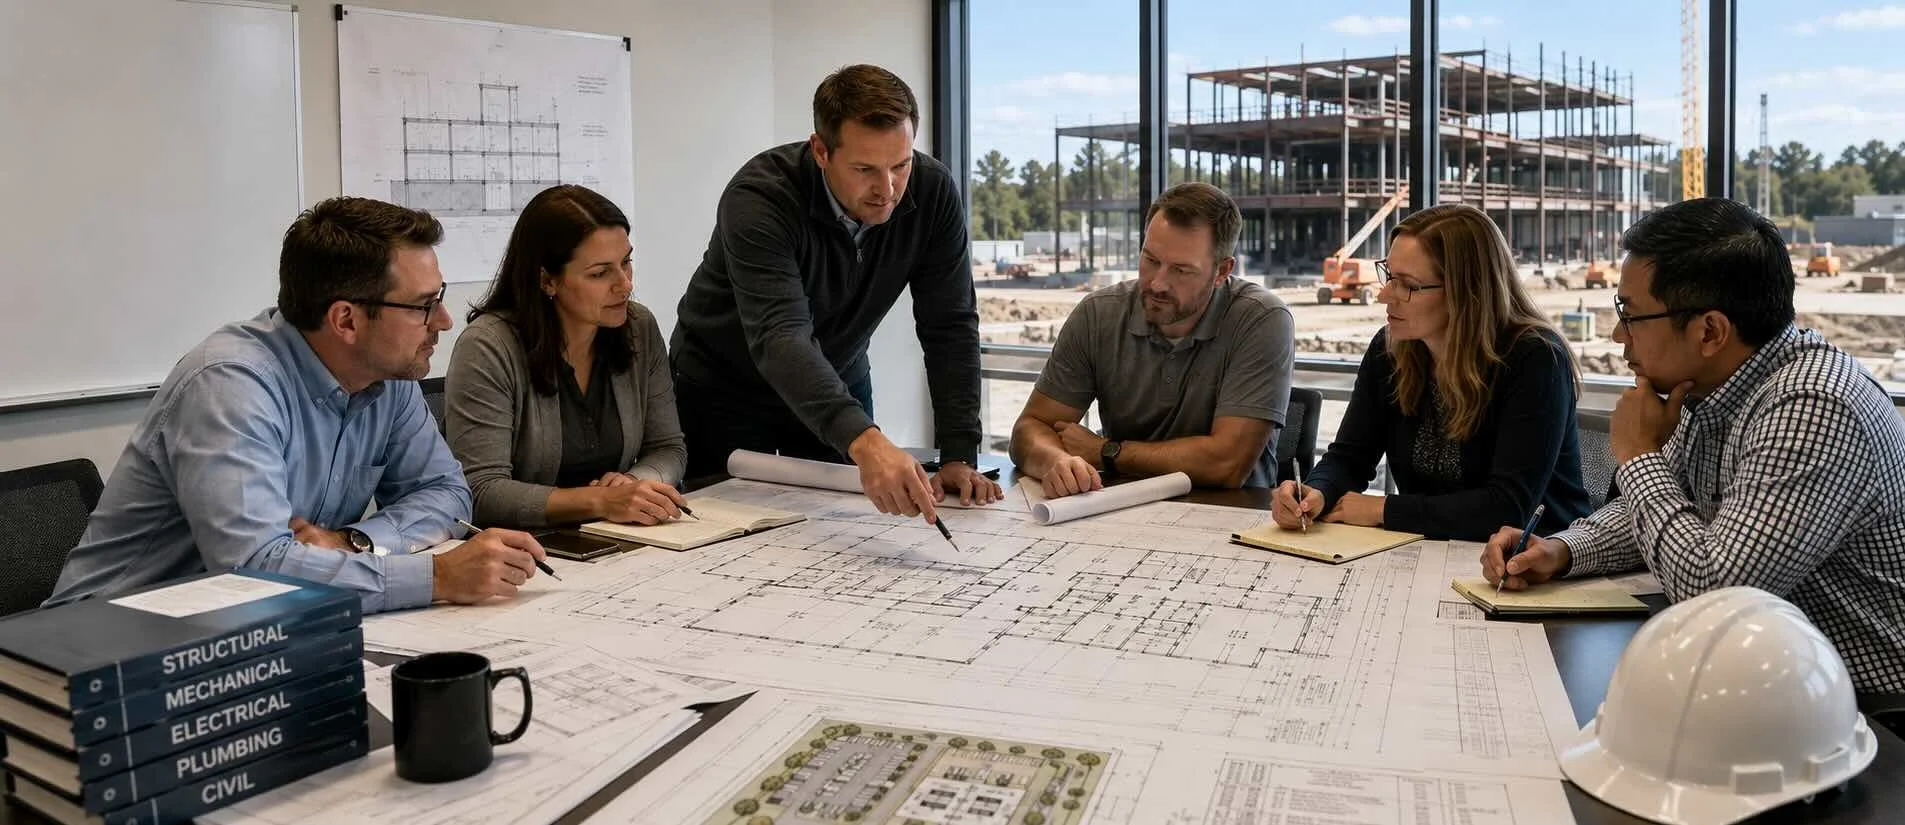
9. Bring in the Engineering Team
Most projects require more than an architect. As the design becomes more detailed, architects coordinate with engineers and consultants whose work supports the overall building. The team may include:
Structural engineers
Civil engineers
Mechanical engineers
Electrical engineers
Plumbing engineers
Landscape architects
Geotechnical engineers
Surveyors
Fire protection consultants
Energy consultants
Traffic engineers
Each discipline focuses on a different part of the project, but their work has to fit together. For example, a structural engineer may determine where columns need to be placed. Those columns affect the floor plan. Mechanical ductwork has to fit around the structural system. Plumbing shafts need space. Electrical rooms need access. Civil engineers need to coordinate utility locations with the site plan. Architects often help bring those pieces together into one coordinated set of documents.
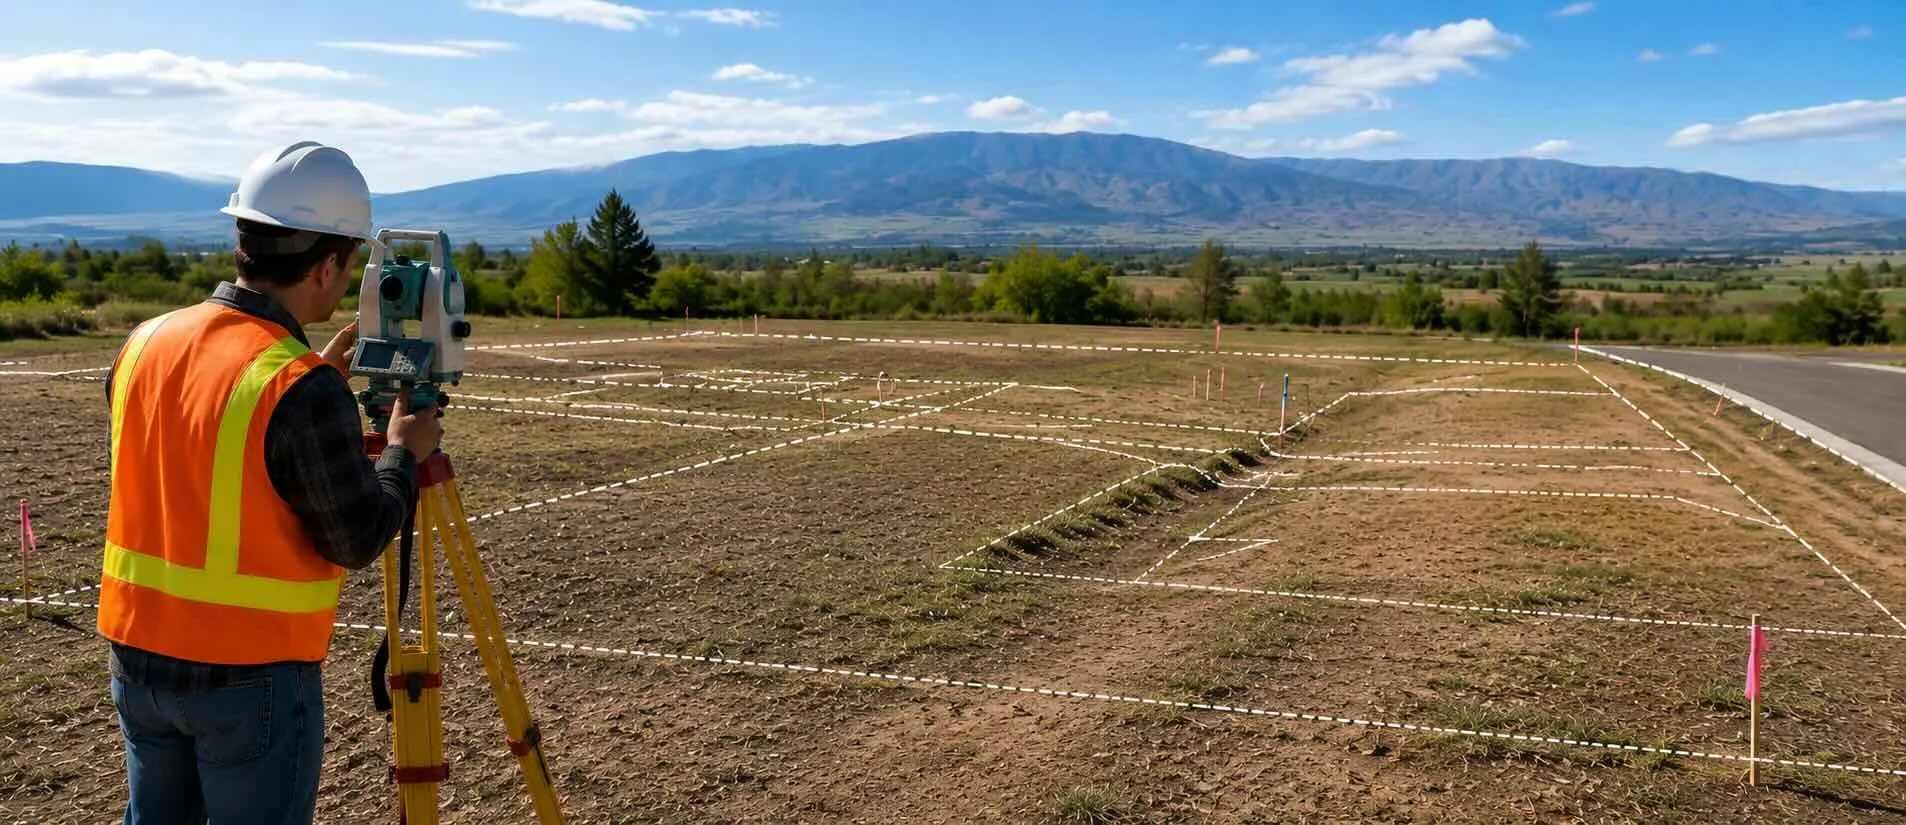
10. Complete a Survey
A professional land survey is often essential for new construction. Depending on the project, the survey may identify:
Property lines
Existing structures
Easements
Utilities
Elevations
Roads
Curbs
Trees
Drainage features
Adjacent improvements
Accurate survey information allows architects and engineers to design based on real site conditions rather than assumptions. Designing from incomplete site information can create costly problems later.
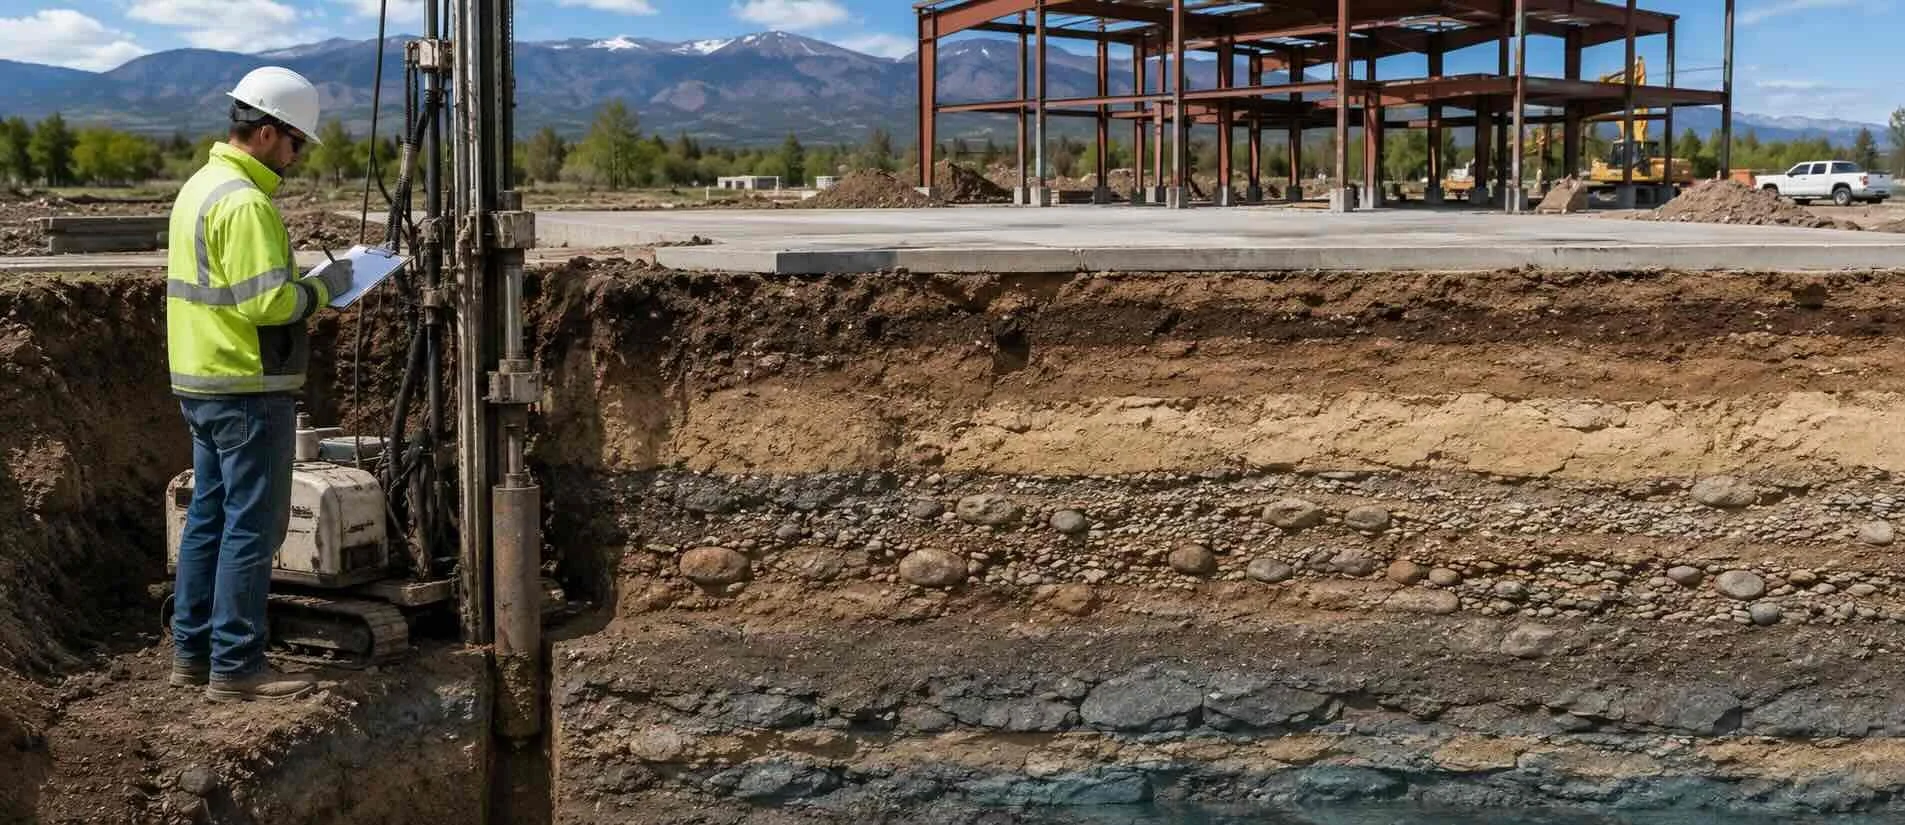
11. Investigate the Soil
The land above ground is only part of the story. What is underneath the building can have a major impact on construction. A geotechnical engineer may perform soil borings or other testing to evaluate:
Soil type
Bearing capacity
Groundwater
Expansive soils
Fill material
Settlement risk
Rock conditions
That information helps structural engineers determine what type of foundation system is appropriate. A project may require:
Conventional spread footings
Thickened slabs
Deep foundations
Piles
Soil replacement
Ground improvement
Unusual soil conditions can significantly affect construction cost, so geotechnical investigation is an important part of reducing risk.
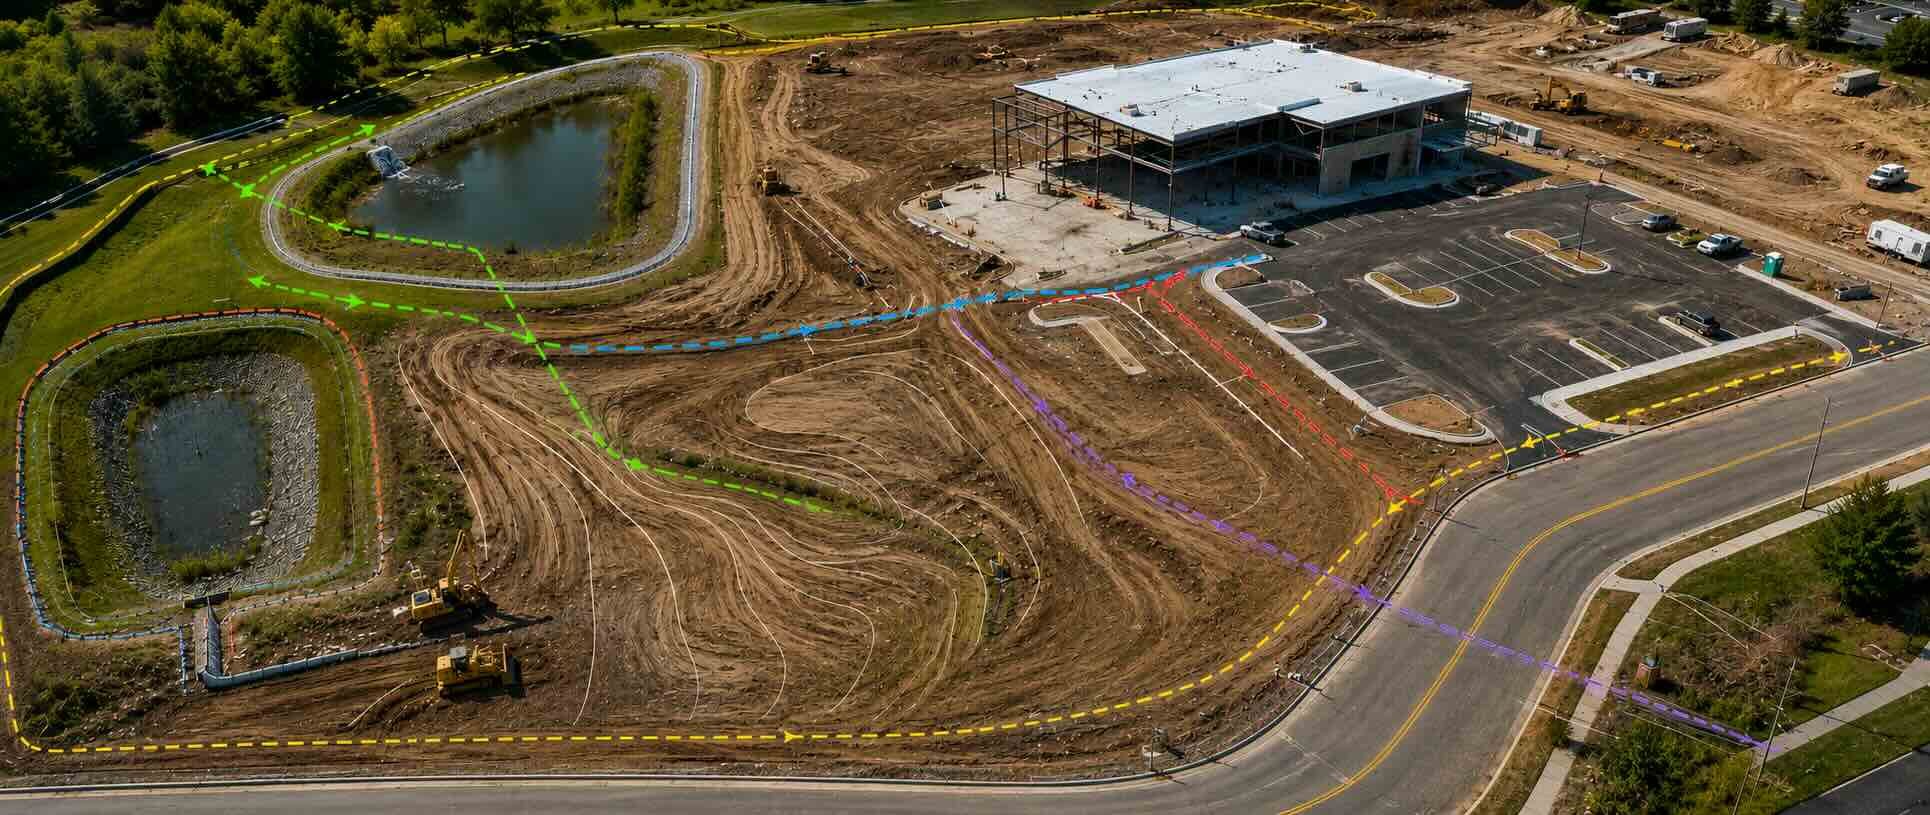
12. Design the Civil Infrastructure
The civil engineer typically handles many of the systems connecting the building to the site. Civil design may include:
Site grading
Stormwater drainage
Water service
Sanitary sewer
Fire service
Driveways
Parking
Sidewalks
Utility routing
Erosion control
This phase can have a major impact on the buildable area. Stormwater systems, for example, may require detention ponds, infiltration areas, bioswales, or underground systems. Site grading may also require retaining walls or substantial earthwork. These are important costs to identify before construction.
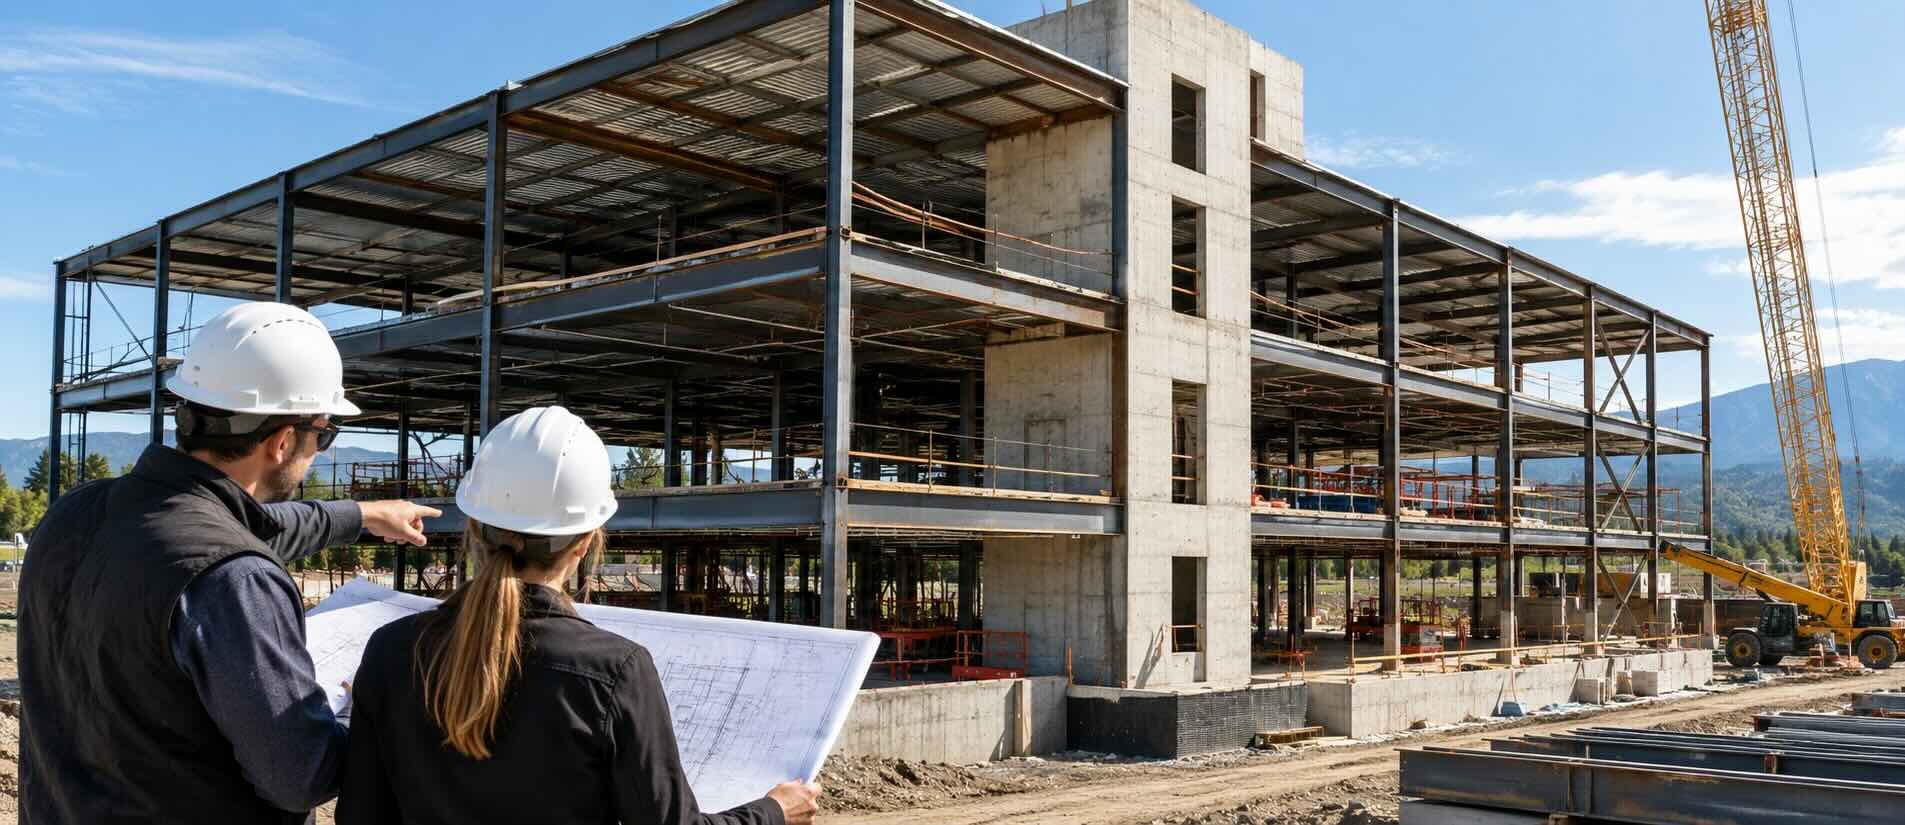
13. Design the Structural System
The structural engineer determines how the building will safely support itself. That includes designing:
Foundations
Floor systems
Roof systems
Columns
Beams
Bearing walls
Shear walls
Lateral bracing
The structural system varies depending on the type of building. Possible systems may include:
Wood framing
Structural steel
Concrete
Masonry
Precast concrete
Light-gauge metal framing
Structural decisions can influence cost, construction speed, building height, floor-plan flexibility, and appearance. Architects and structural engineers work closely together to ensure the structure supports the design rather than fighting against it.
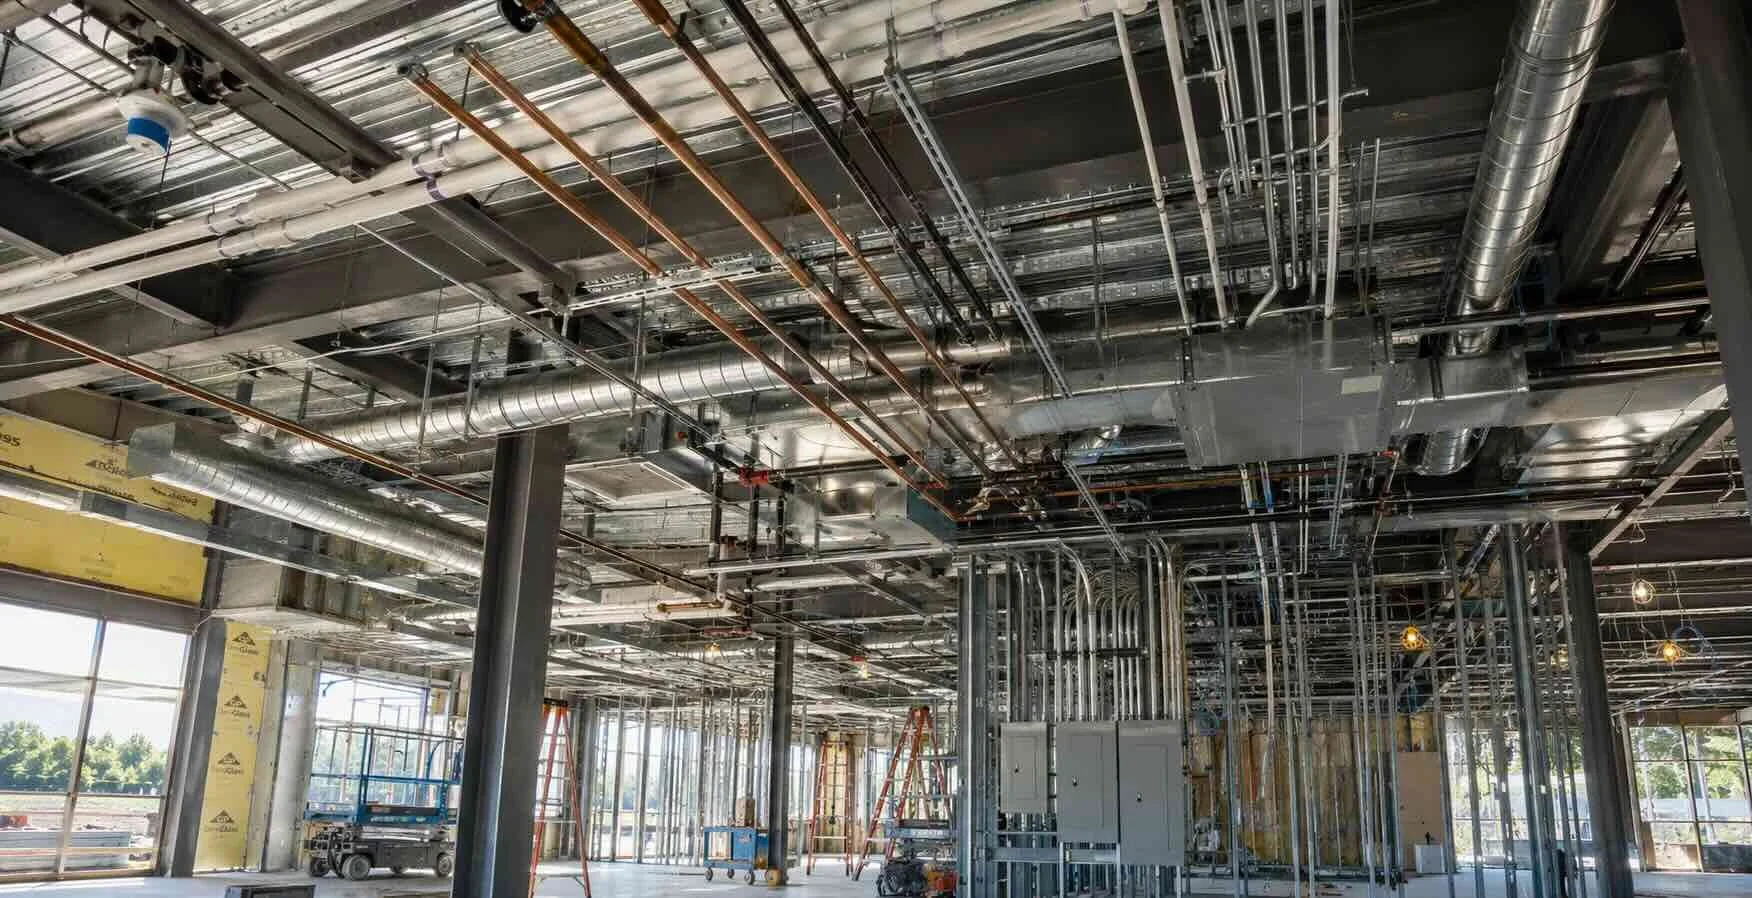
14. Develop the Mechanical, Electrical, and Plumbing Systems
The building also needs systems that make it comfortable, functional, and safe. These are commonly referred to as MEP systems. Mechanical design may include:
Heating
Cooling
Ventilation
Exhaust
Equipment locations
Ductwork
Electrical design may include:
Power distribution
Lighting
Panels
Emergency power
Fire alarms
Exterior lighting
Data infrastructure
EV charging
Plumbing design may include:
Domestic water
Sanitary sewer
Vent piping
Water heating
Gas
Roof drains
MEP systems require physical space, and that space has to be coordinated with the architectural and structural design.
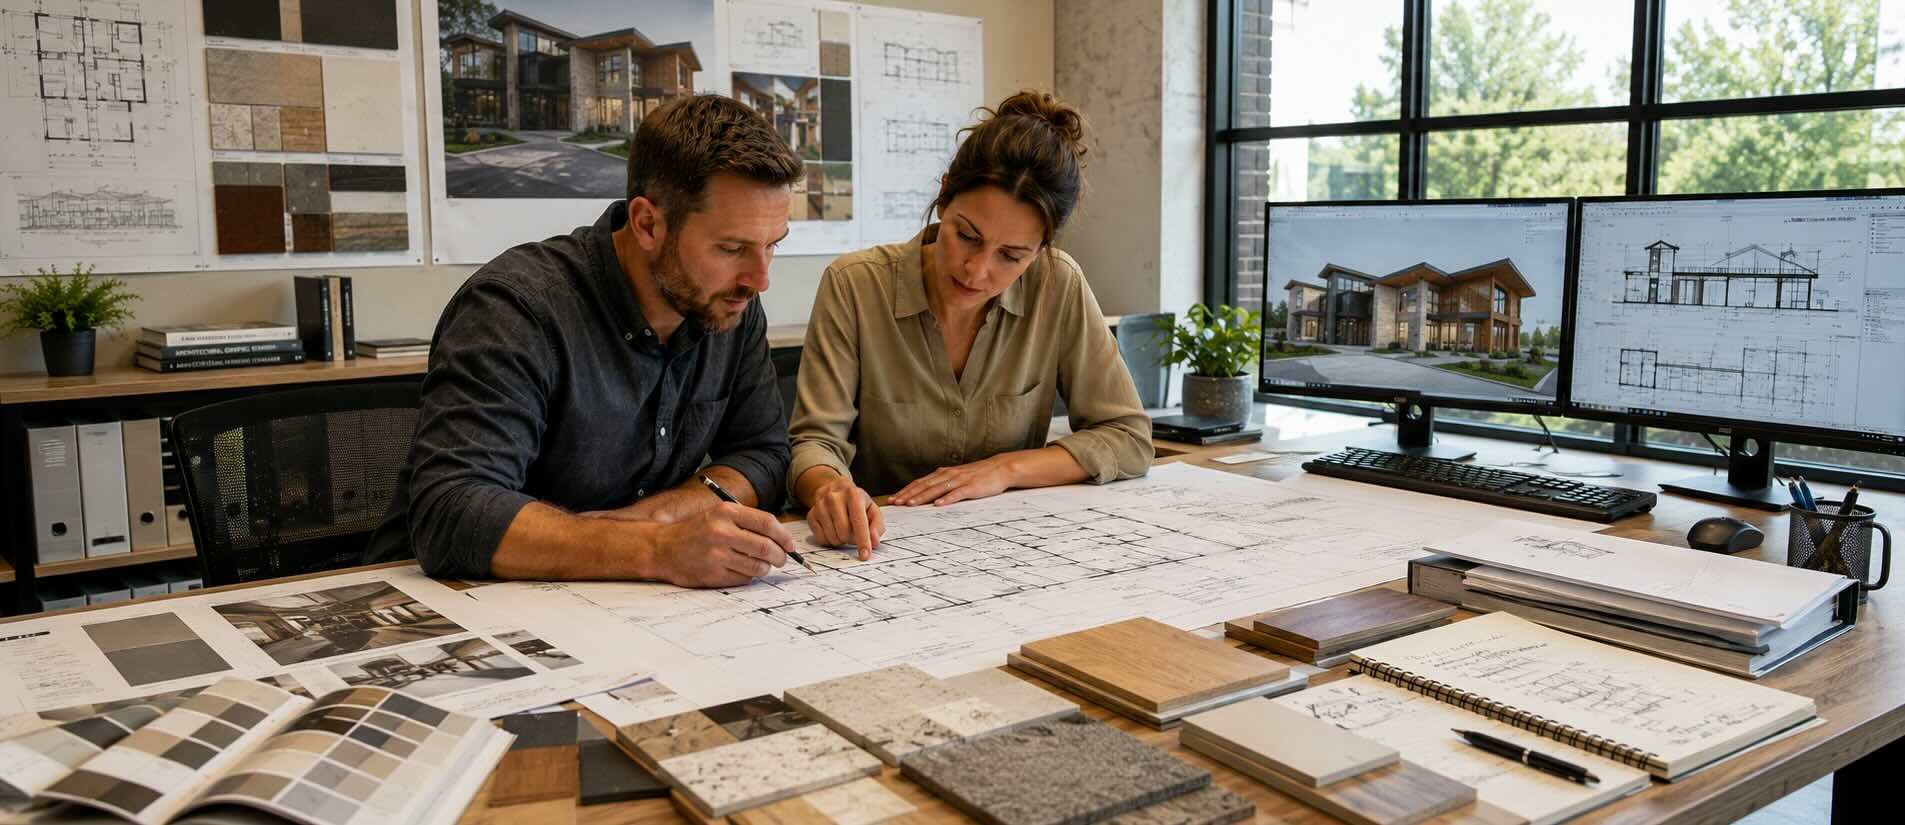
15. Move Into Design Development
Once the broad design is established, the project enters design development. This is where the project becomes much more detailed. Architects refine:
Wall types
Windows
Doors
Materials
Ceiling heights
Stairs
Restrooms
Kitchens
Casework
Exterior details
Roofing
Insulation
Accessibility details
The engineering team also advances its work. By the end of design development, the project should be much closer to what will actually be built. This is also a good time to update cost estimates.
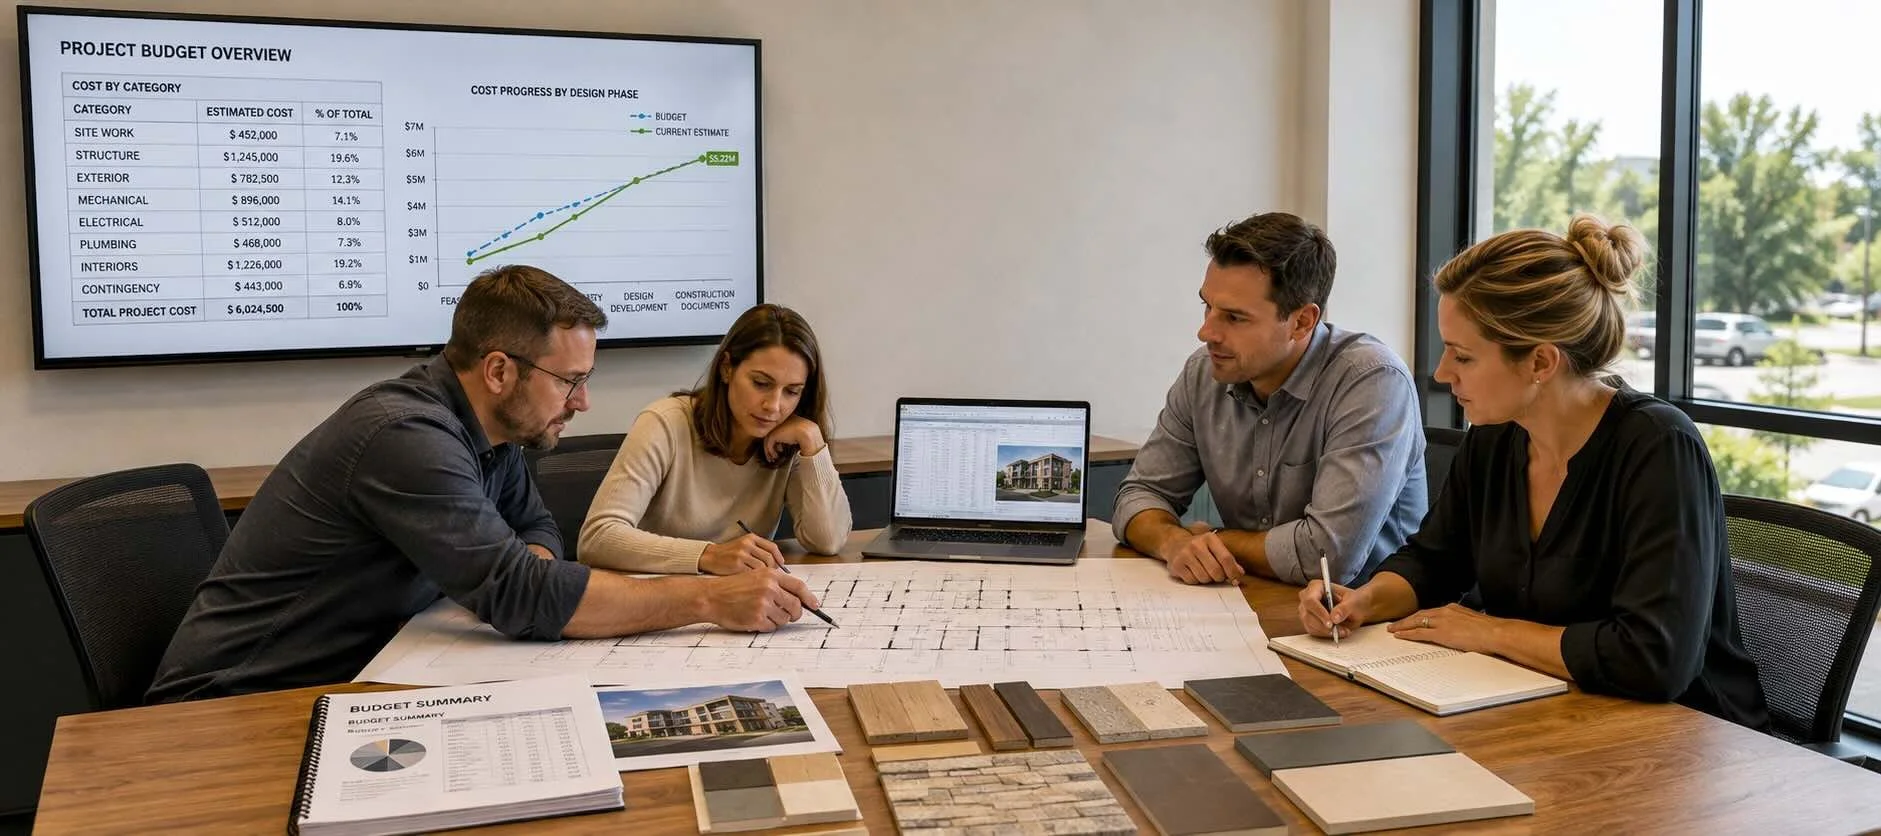
16. Check the Budget Again
Construction pricing should not wait until the permit drawings are complete. Ideally, the budget is checked multiple times throughout the design process. Cost reviews may happen during:
Feasibility
Schematic design
Design development
Construction documents
If the design is above budget, there are usually more options to make adjustments earlier in the process. Waiting until the end can force rushed decisions and major redesign. Value engineering may involve reviewing:
Building size
Structural systems
Exterior materials
Mechanical systems
Window quantities
Finish levels
Site improvements
The goal is not simply to make the building cheaper. It is to allocate money where it provides the most value.
17. Prepare Construction Documents
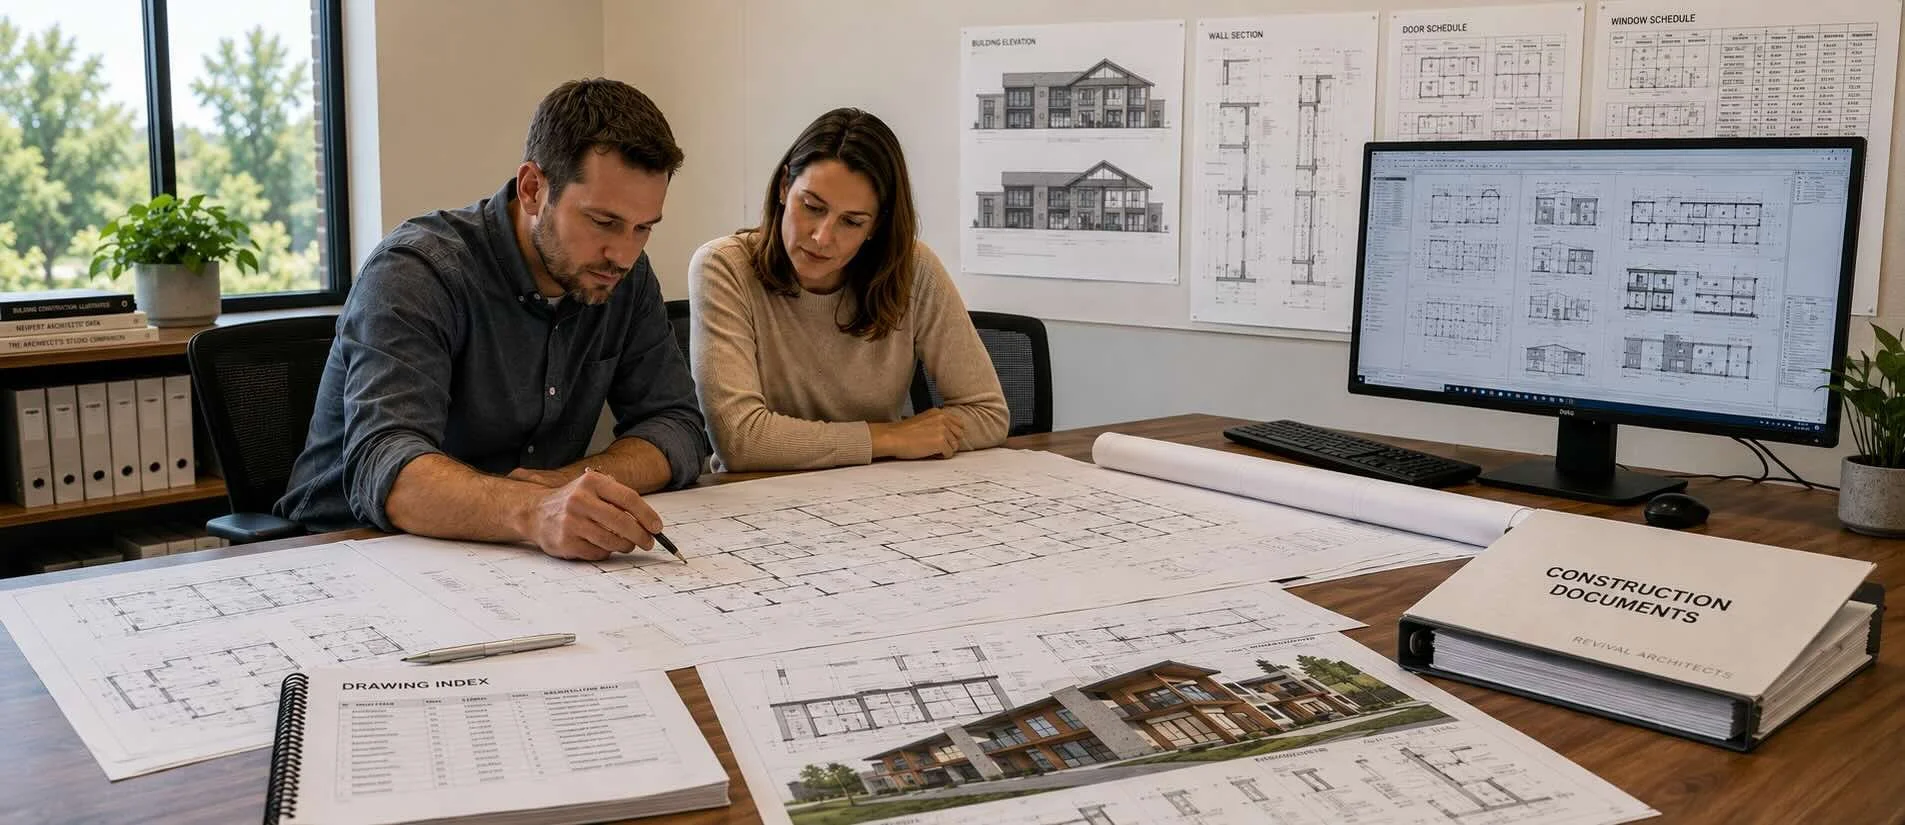
After design development, the architect and engineers create the detailed drawings and specifications used for permitting and construction. This phase is commonly called construction documents. The architectural drawing set may include:
Site plans
Floor plans
Roof plans
Reflected ceiling plans
Building elevations
Building sections
Wall sections
Enlarged plans
Door schedules
Window schedules
Finish information
Accessibility details
Construction details
Engineering drawings are coordinated into the overall construction set. These documents communicate how the project should be built.
18. Submit for Permits
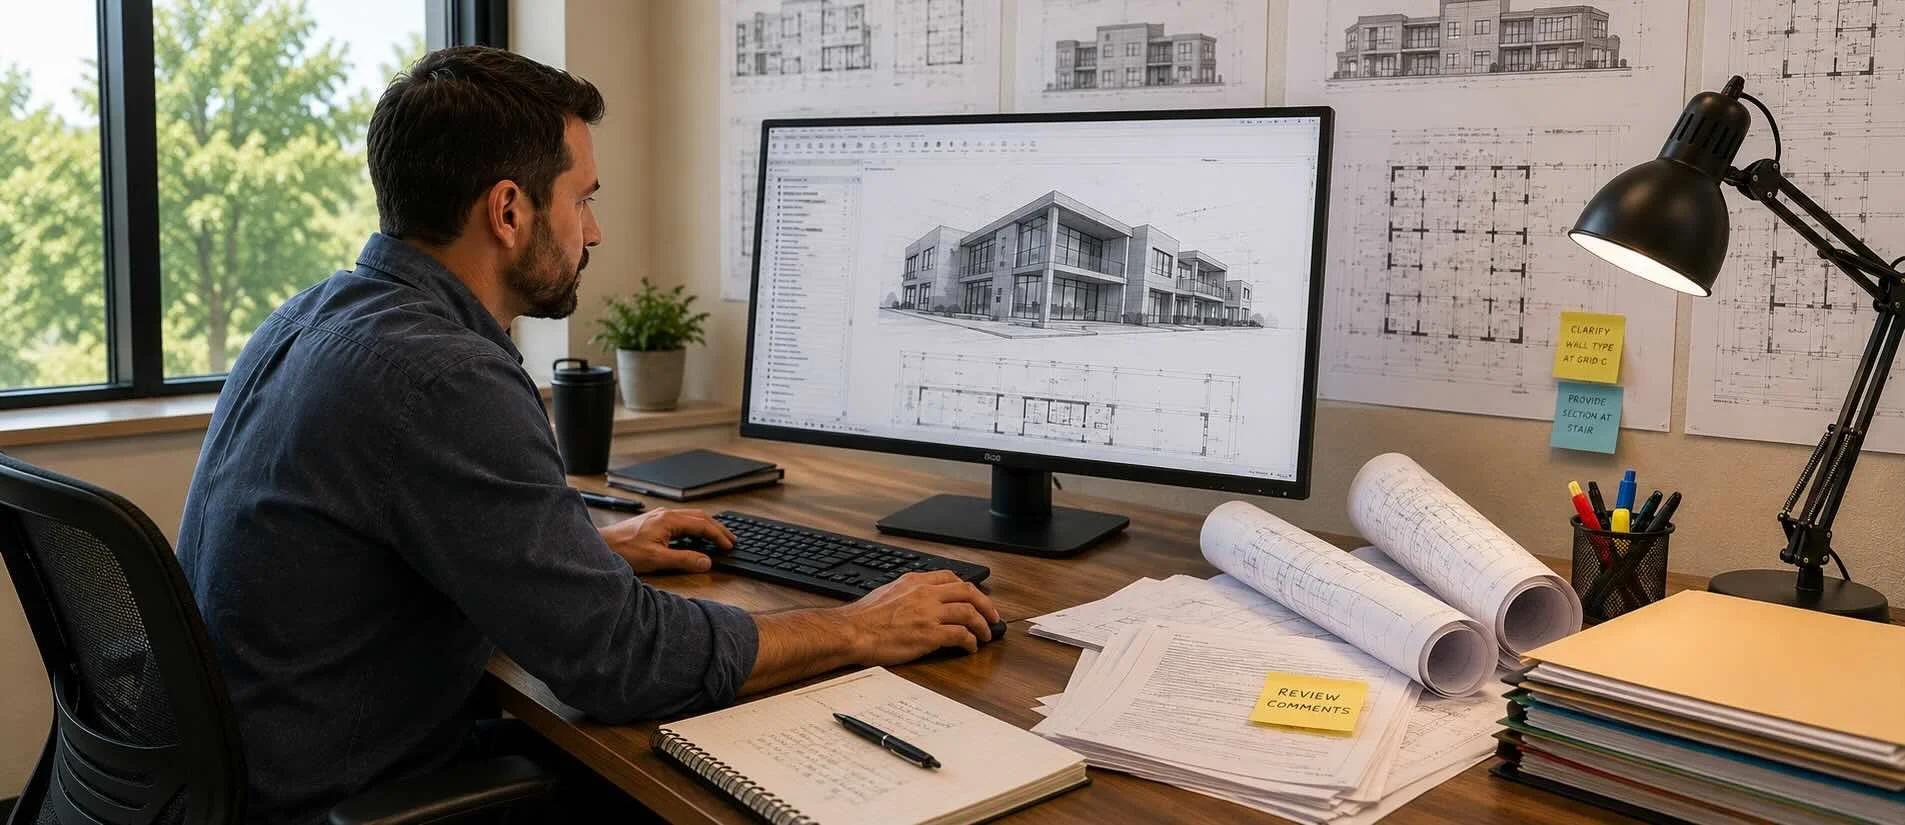
Before construction can begin, the project generally needs approval from the local authority having jurisdiction. The exact process varies by city and county. Permit review may involve:
Building department
Planning department
Fire department
Public works
Engineering department
Utility providers
Health department
Reviewers may issue comments requesting clarification or revisions. The architect and engineering team respond, update the documents, and resubmit them as necessary. Depending on the project and jurisdiction, permitting may take weeks or months. Planning for review time is an important part of the overall project schedule.
19. Obtain Bids or Negotiate With a Contractor
While permitting is underway—or sometimes earlier—the owner can begin selecting a contractor. The project might be:
Competitively bid
Negotiated with a general contractor
Delivered through design-build
Managed through a construction manager
Contractors use the drawings and specifications to estimate:
Labor
Materials
Equipment
Subcontractors
Overhead
Schedule
Contingency
The architect may help answer bidder questions and issue clarifications during this process.
20. Finalize the Construction Cost
Once contractor pricing comes in, the owner can compare the bids or negotiated cost against the project budget. If the cost is too high, the team may revisit:
Materials
Building size
Site work
Structural systems
Equipment
Finishes
Ideally, because cost has been reviewed throughout design, the final construction price should not come as a major surprise.
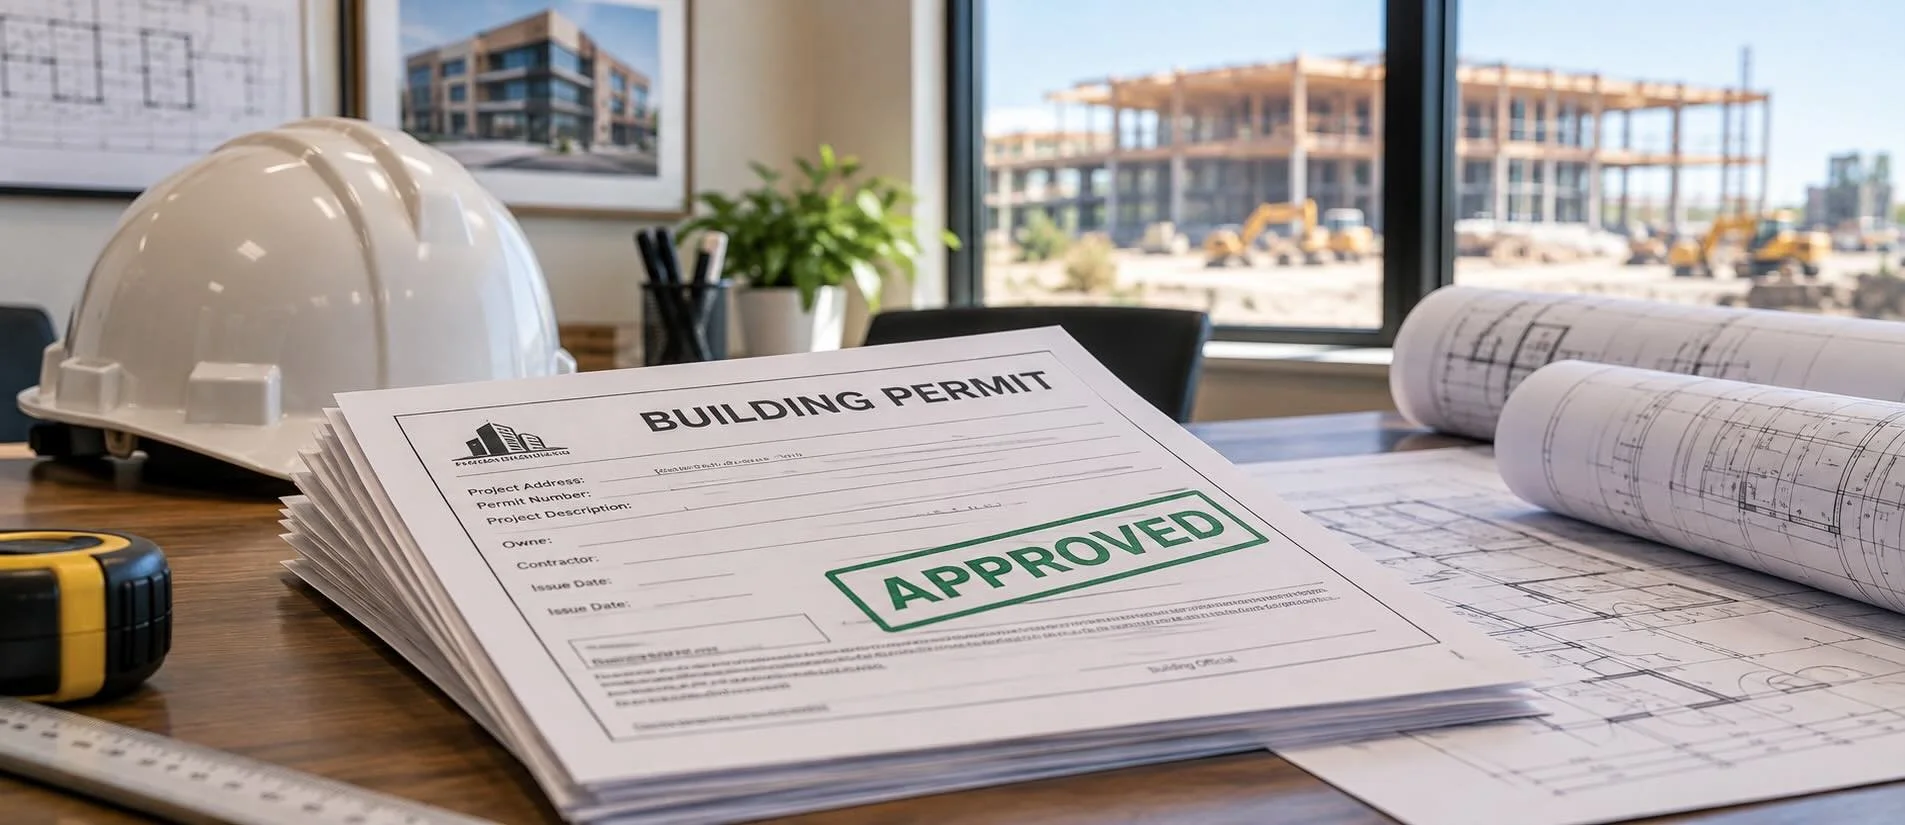
21. Get the Permit
After the review comments have been resolved and all required approvals are in place, the jurisdiction issues the building permit. This is a major milestone. It means construction can legally move forward, subject to the conditions of the permit. Other permits may also be required for:
Grading
Utilities
Demolition
Right-of-way work
Fire systems
Electrical work
Plumbing
Mechanical systems
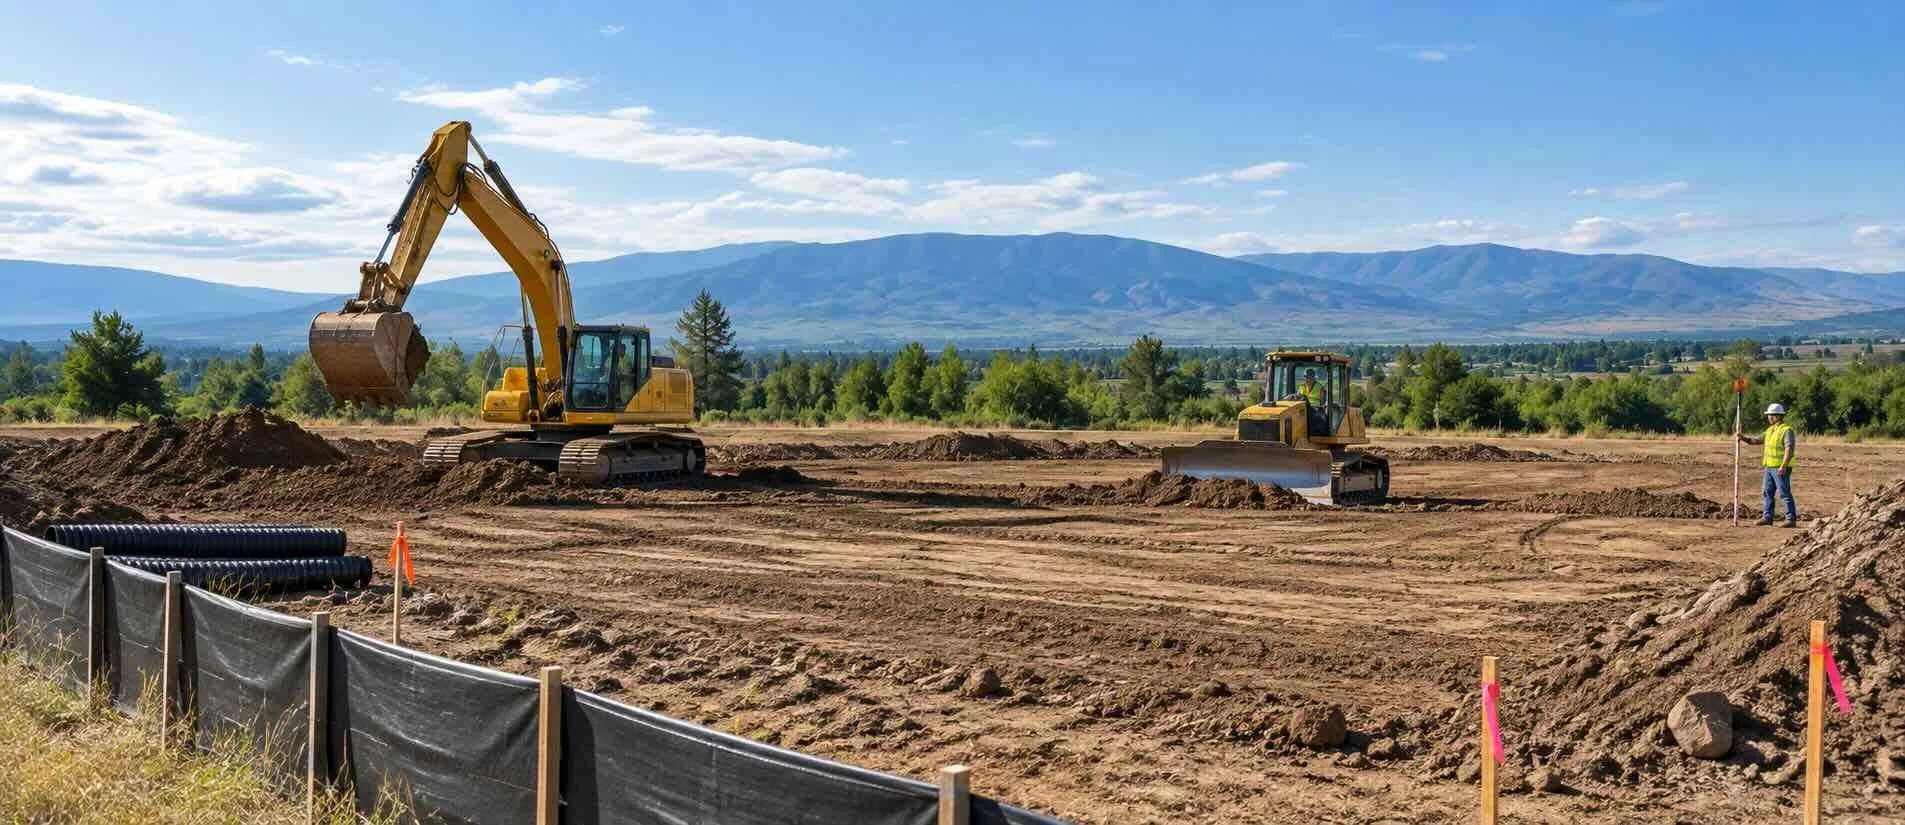
22. Prepare the Site
Before the building begins to rise, the contractor prepares the property. Site preparation may include:
Construction fencing
Temporary utilities
Tree protection
Erosion control
Clearing
Demolition
Excavation
Rough grading
Construction access and staging areas also need to be established. This is often the first point when the property begins to look like an active construction site.
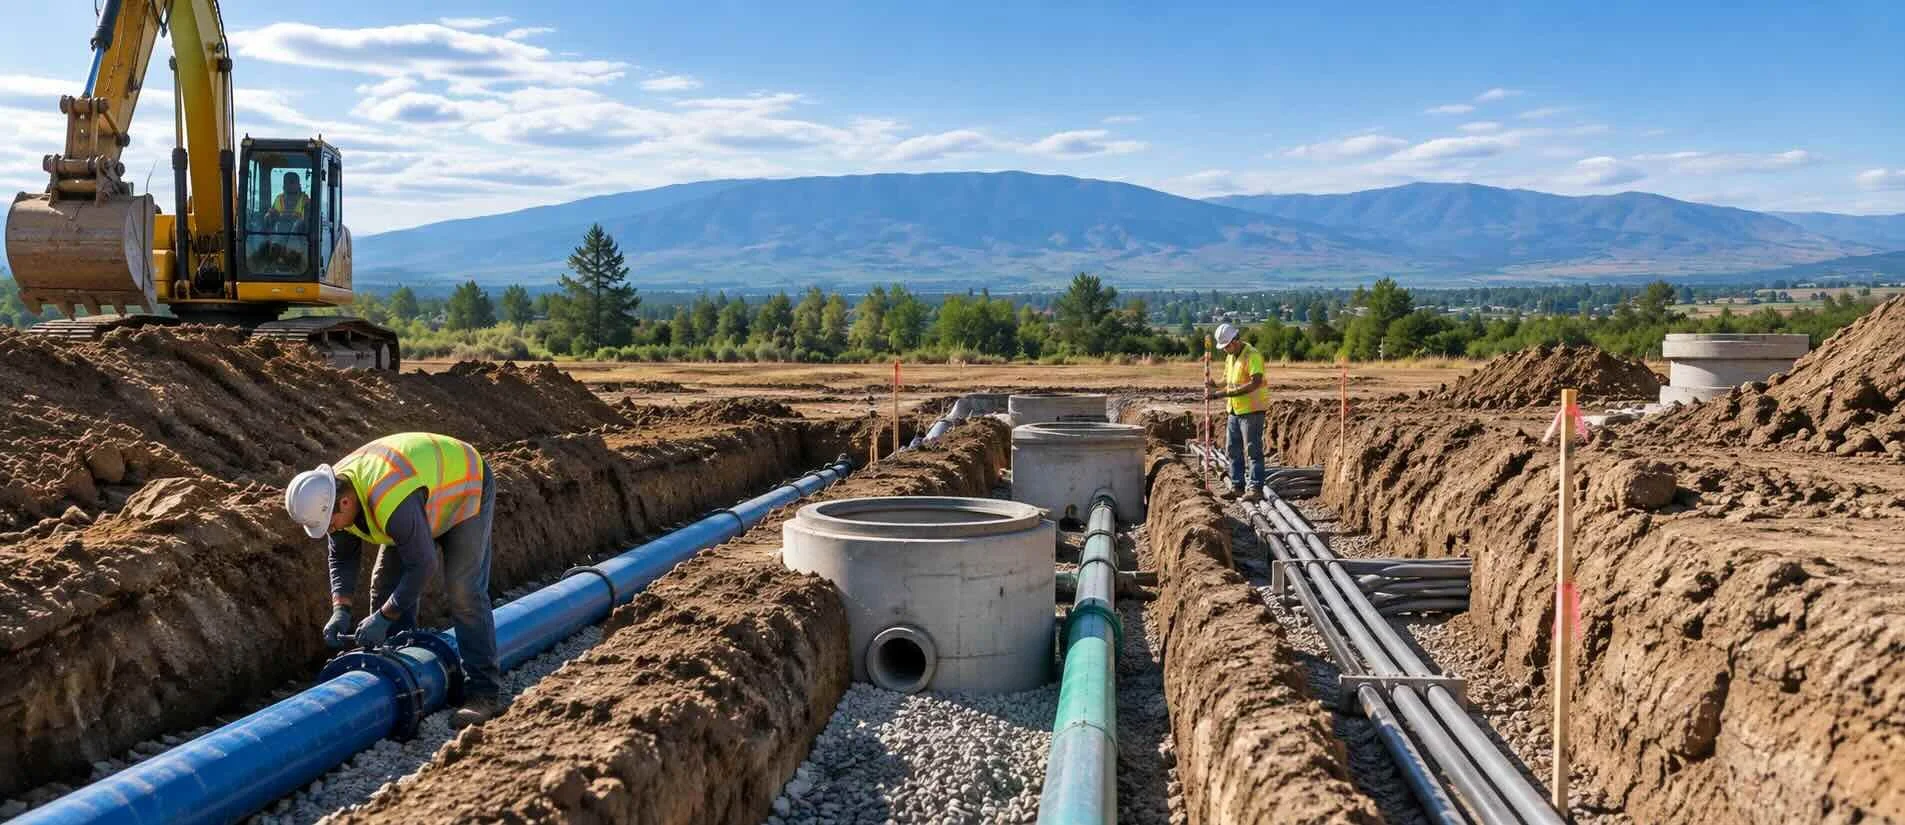
23. Install Underground Utilities
Much of the earliest construction work happens underground.Crews may install:
Water lines
Sewer lines
Storm drains
Electrical service
Communications
Fire service
Once foundations and slabs are installed, moving underground utilities becomes much more difficult. That is why careful coordination before construction is so important.
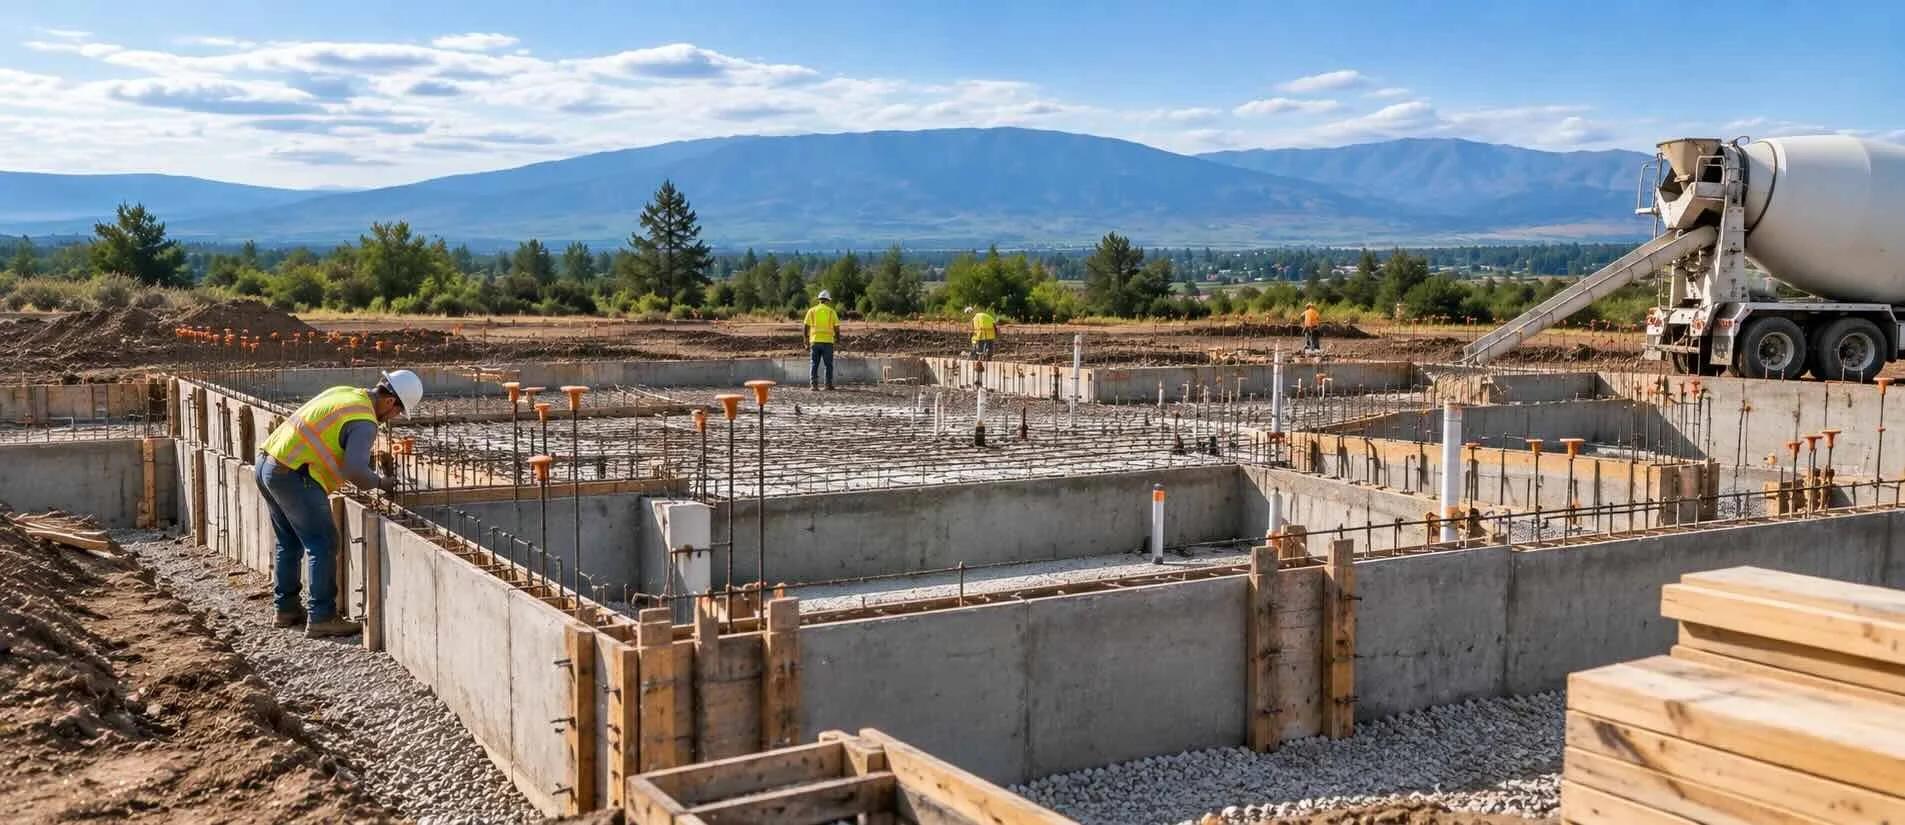
24. Build the Foundation
After excavation and site preparation, foundation construction begins. This can include:
Footings
Foundation walls
Slabs
Reinforcing steel
Waterproofing
Drainage systems
The foundation transfers the weight of the building into the ground. This is where the architectural, structural, civil, and geotechnical work all come together.
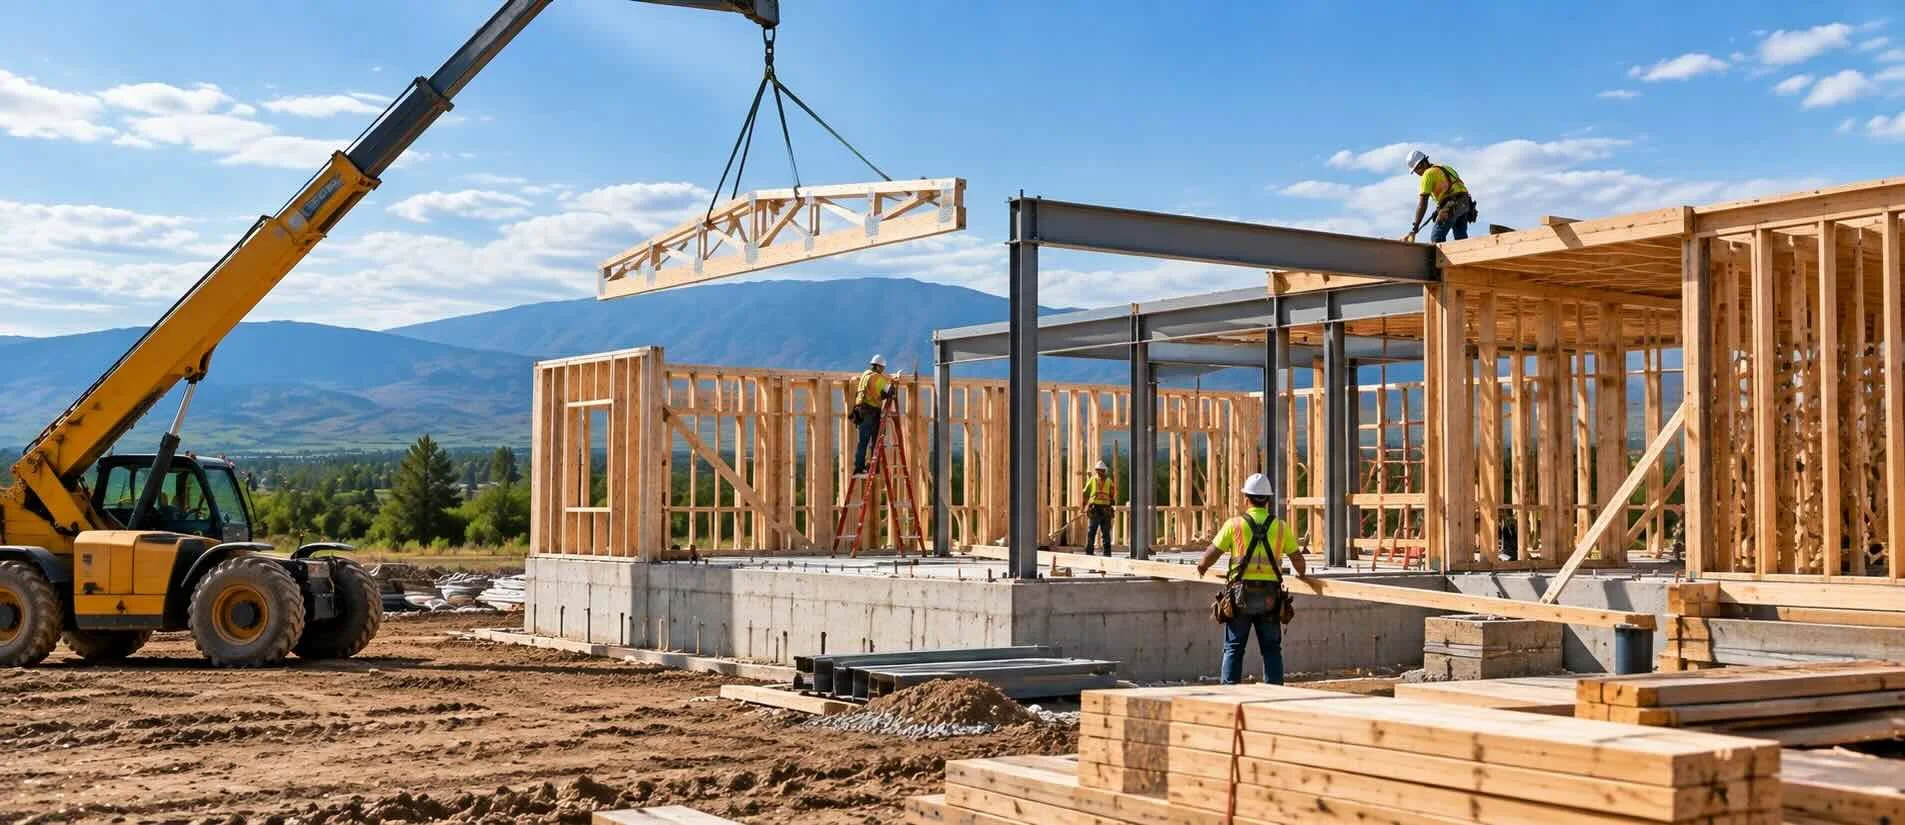
25. The Building Starts Going Vertical
Once the foundation is complete, the building begins to rise. Depending on the structural system, crews may install:
Wood framing
Steel columns and beams
Concrete walls
Masonry
Floor systems
Roof framing
For owners who have spent months looking at drawings, this can be one of the most exciting stages of the project. The plans finally begin turning into physical space.
What Does the Architect Do During Construction?
The architect’s involvement does not necessarily end when the permit is issued. Many architects provide construction administration services while the contractor is building the project. That may include:
Reviewing shop drawings
Reviewing product submittals
Responding to contractor questions
Issuing clarifications
Visiting the job site
Evaluating substitutions
Reviewing change proposals
Observing construction progress
Helping resolve unforeseen conditions
The architect typically does not control the contractor’s means and methods, but continued involvement can help protect the owner’s interests and keep the project aligned with the design intent.
How Long Does the Architectural Process Take?
There is no universal timeline. The schedule depends on:
Project size
Project complexity
Site conditions
Zoning
Permit requirements
Engineering
Owner decision-making
Financing
Contractor availability
Material lead times
A smaller building may move through design and permitting relatively quickly. A large commercial or multi-family project may require many months of design, approvals, and coordination before construction begins. The important thing is to understand that architectural planning is part of the construction process, not a delay before construction. Good planning often saves time later by reducing conflicts, redesign, permit problems, and construction changes.
A Practical Empty-Land-to-Construction Checklist
Before your project reaches the construction phase, the team may need to complete the following:
Property Research
Confirm property boundaries
Review zoning
Review easements
Evaluate topography
Identify floodplain or environmental concerns
Confirm utility availability
Feasibility
Confirm proposed use is allowed
Determine setbacks
Estimate buildable area
Test parking
Test preliminary building size
Evaluate access and fire circulation
Develop preliminary project budget
Early Design
Establish project program
Create preliminary site plan
Develop schematic floor plans
Explore building massing
Review building codes
Review accessibility requirements
Consultant Coordination
Obtain survey
Complete geotechnical investigation
Begin civil engineering
Begin structural engineering
Begin mechanical design
Begin electrical design
Begin plumbing design
Design Development
Refine floor plans
Select major exterior materials
Coordinate structure
Coordinate MEP systems
Refine site grading
Develop stormwater plan
Update construction budget
Construction Documents
Complete architectural drawings
Complete structural drawings
Complete civil drawings
Complete MEP drawings
Coordinate all disciplines
Prepare permit package
Permitting and Bidding
Submit for permits
Respond to review comments
Obtain contractor pricing
Review construction cost
Make final adjustments
Obtain building permit
Construction
Mobilize the site
Clear and grade
Install underground utilities
Build foundations
Begin structural construction
Continue architectural construction administration
The Best Projects Usually Begin Long Before Construction
When people picture a new building project, they often think about excavators, concrete trucks, framing crews, and cranes. But by the time those arrive, hundreds or thousands of decisions may already have been made. The architectural process turns a piece of land into a coordinated plan that can actually be permitted, priced, engineered, and constructed. That process helps answer the questions that matter before they become expensive problems: Can the site support the project? Does the building fit? Will the utilities work? Does it meet code? Can it be built within budget? Can the contractor actually construct what has been designed? Whether you are considering commercial architecture, multi-family development, residential design, a government building, tenant improvement, or a new development on vacant land, starting with thoughtful architectural planning can give the entire project a stronger foundation. Because construction may begin with dirt and concrete. But successful projects usually begin much earlier—with the right questions, the right information, and a well-developed plan.